Saturday, 27 October 2018

Art and Soul Studio Moodboard Challenge - Fitzy


Ah... The love of an animal..
This is my recently dearly departed soul mate. We all have one cross our paths in this lifetime.
I go to extremes recording memories of my happy moments with the people I love, this time it was a moment I love with him.
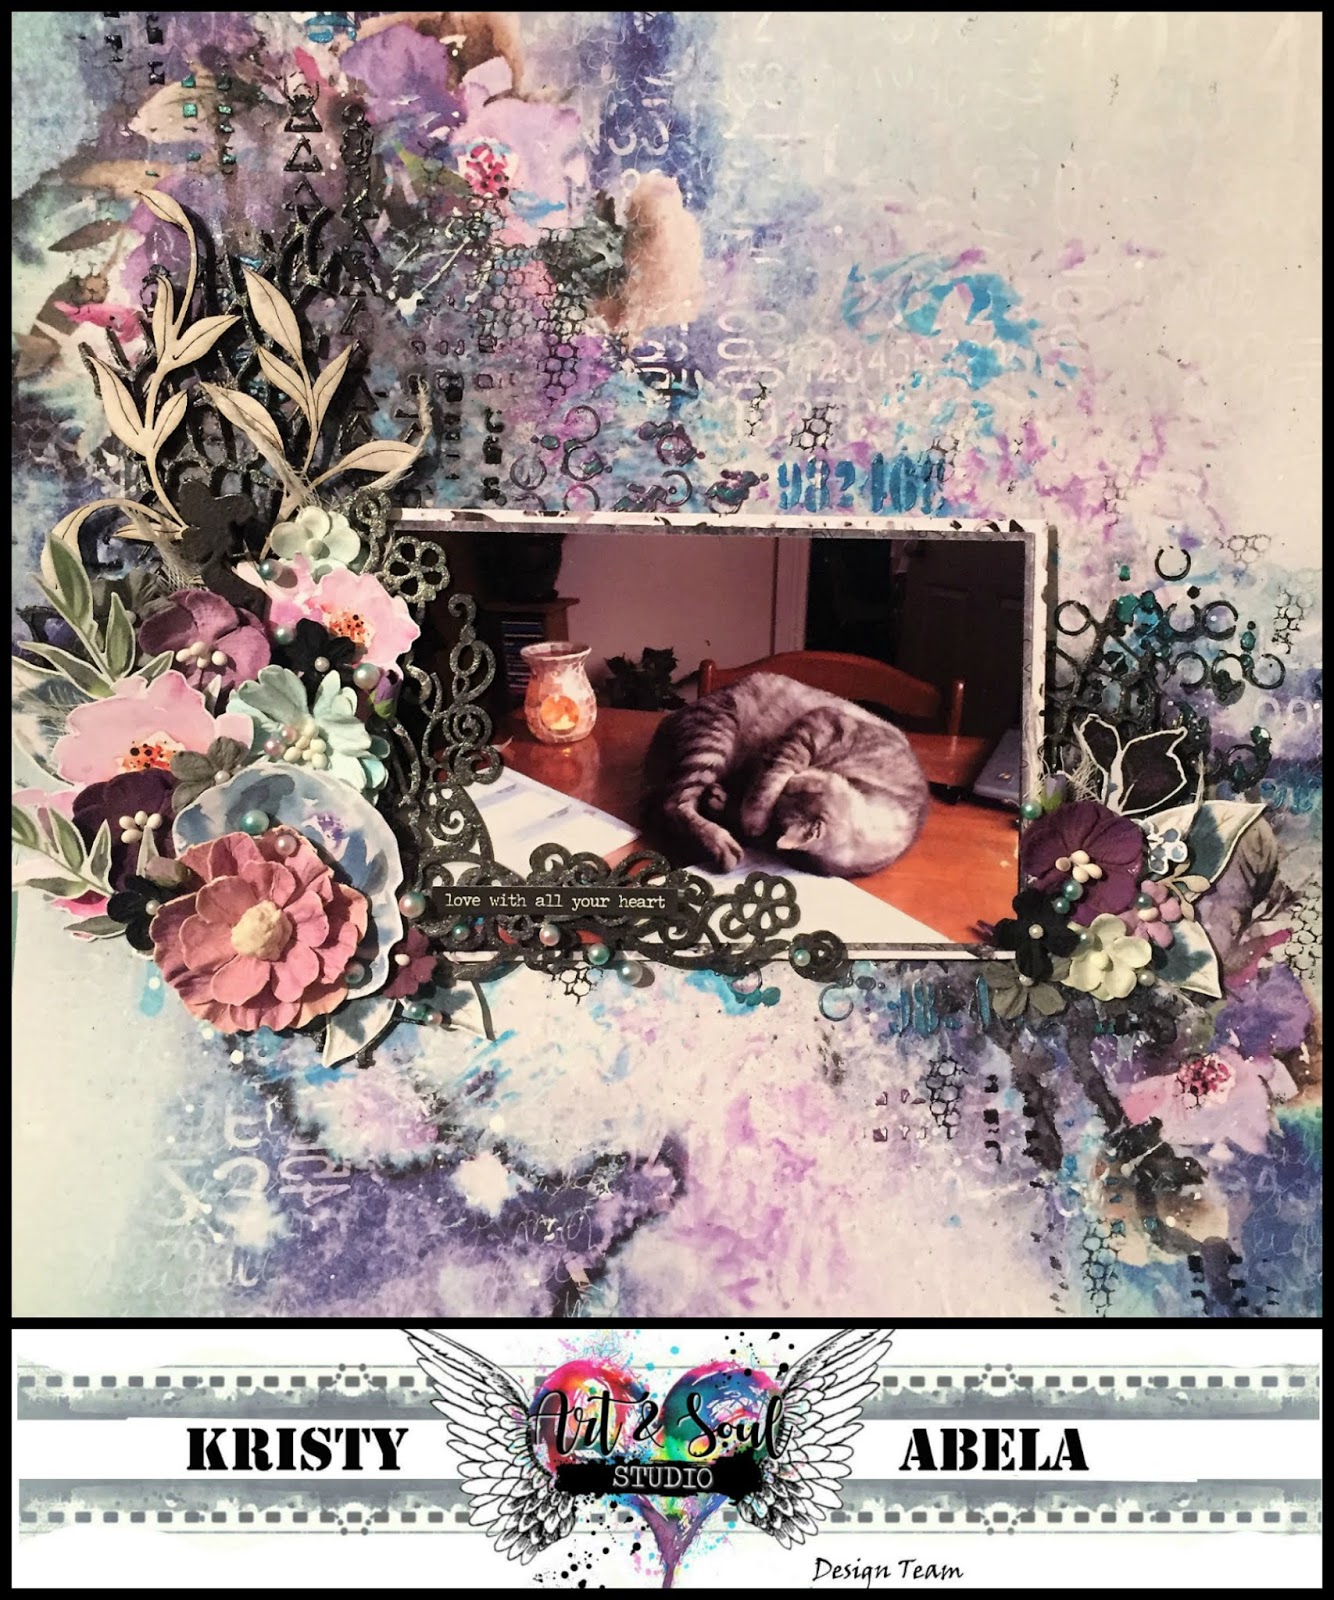

I got to use the Fabulous Colour Blast products and  my shipment of 13@rts new release papers arrived in time for this one. Here's a quick few process pics.. 


I put some Colour Blast Gesso White onto a piece of plastic wrap and misted it with water. I used that as a stamp to give me a nice clear area to work with in the middle. I also used Caribbean and Grape Colour Sprays in the same manner to meet the rules of the Moodboard Challenge. 


Using my Aall & Create stencil I used the Colour Paste to create my texture. I used two swipes through on the same stencil to soften the tones in the paste. I used Dusty Charcoal and Envy.


Check out the difference in colour from Wet to Dry!


I repeated the same process with the Singing The Blues Colour Paste and created a  frame for my focal point. 


Next I added some drippage with the Colour Spray bottles by using the applicator to the page and misted lightly with water to help it run.


I love this Fairy from Dusty Attic.. I often have her blowing some Fairy Dust across my pages.. I used a Vine Chipboard from Little Birdie and Netting from Dusty Attic to build the collage. I used my Colour Blast Shimmer pen over my chipboard to give it a sparkle. Done!!


I used some Cheesecloth and some Flowers from 49th & Market with the Ephemera elements from 13@rts to finish off. The beads came from 'Which Craft Do You Do?'. 

Abela Artistry
If you enjoyed this project. Check out our Mood Board and join in on our challenge this month.. Here are the rules.. 


Mood Board Challenge Rules

Please use our mood board as inspiration to create an art journal page, a card or a scrapbooking layout. Use the mood board however you want but you must add a butterfly on your project.

As these challenges are sponsored by Art and Soul Studio please make sure that you use at least one product that is available from the store.

There are 3 x $50 vouchers up for grabs!! One will be awarded for scrapbooking layouts, one for cards and one for mixed media/art journaling.

You can enter an art journal page, a card and a layout but you cannot win all three.

You have until the 11:59pm on the 31st October to enter and then the design team will vote to determine the lucky winners.

Please note that the vouchers can only be won by residents of Australia but if you are from overseas and win the challenge you will be offered a guest design team spot.


Tuesday, 23 October 2018

Grunge Heart - Colour Blast

Hey all, Time for a bit of a teen layout...
I wanted to make something quick and easy, up-cycling some random pieces from my stash. I set myself an hour for this task and was so pleased with the result.. Can you find an hour too?


I kept the colours simple as I wanted a grungy effect. I only had half a heart I fussy cut from an old piece of paper so the layout formed around that. 


I marked out where the embellishments were going to be and started spraying with my Colour Spray in Road Base... I knew I wanted drippage so I worked with a water mister as well to get the spray to flow.


I didn't have any red spray on hand (put that on the shopping list) so I made up a spray with my Colour Artist Ink in Sunburst. I only used three drops in an teaspoon of water as I didn't want the colour to dilute too much.


I added some stamping to the background


I added some Colour Paste in Stormy Sky to add some texture to the stamped areas. Waited for that to dry... 


I used some Colour Embossing Powder in Dusty Charcoal... Watered down some Colour Blast Heavy Gesso White and splattered the background... 
And reassembled my page!


Hope you can find time for a quick create this week. Pop your projects onto the Facebook page so I can see what you come up with in your One Hour Challenge!


Tuesday, 9 October 2018

Bono U2 for Colour Blast Australia

Hi Everyone...
 I have a Celebrity Spread for you today. This was a chance encounter with Bono from U2 when I was working at Seaworld on the Gold Coast. I popped the full story on the blog in some tags I used on the layout. 


I loved doing this layout it was bright and fresh and really quick. I usually take forever to pull a project together. Using Colour Blast makes it so easy. 


I used Colour Blast Spray in Carribean and Colour Shimmer Powder in Navy to create this cross hatch effect. I used a wide nylon brush to brush vertically and horizontally crossing in the bottom left corner. 


I love the way it created little rays of sunshine in the colour. I had some left over on my craft mat so I diluted it a bit further and added some platters. I love the way the overall effect looks like a puddle and some splashes. 


I added some stamping to create emphasis along the lines. If you look closely you can see I burnt the page... OOPS!! Ill cover that up later...


Being a star studded layout I used a star stencil with some Colour Paste in Snow. I didn't want to detract from the layout so made this effect subtle.


Check out the shimmer in that paste!! I really love the way it dries translucent. All the work I created on the background wasn't covered up.
  

I use some Colour Embossing Powder in Dusty Charcoal and Sunshine on my chipboard. I didn't end up using the arrows in the end.  


Knocked up a few tags and added the story for you all to have a peek. I also used these to cover up my burn mark... Shh...


To create the title I used some Thickers that I had lying around and customised the colour to match the layout with some Colour Mica Powder in Lemon Zing.


I needed another pop of colour... but like the stars I didn't want to cover up the background. I rummaged through my stash and found some Vellum!! I used my colour artist ink SPARINGLY and spread it across the page. (I put the first layer on too heavily and it warped and buckled). I ran it through the cuttlebug to create the stars
I added a bit of string and some enamel dots and my final title. Done and dusted!!


Thanks for looking and if you try out any of these techniques make sure you pop it up on the Facebook page Colour Blast Creative Corner so I can share the love back. 
Happy Scrapping!!

Abela Artistry


Tuesday, 25 September 2018

Wonder - Colour Blast Australia

Hi there... Welcome to my next inspiration.. I am a dab hand at using black.. One of the many reasons that I LOVE Colour Blast products.. 
So much Shimmer and Shine!
I wanted to have a play with the Colour Paste and their resist effect alongside the Colour Mica Powders. I wanted to create backgrounds for dry brushing effects.


I primed a 5" x 7" Canvas with Colour Blast Black Heavy Gesso and used Colour Paste in Deep Water to create these stunning wings through a stencil.


I grabbed some trinkets, chipboard and art stones from my stash and created a collage and painted it all black too. I have a happy box and just rummaged through to find some elements that had the same theme. 


I mixed some Colour Mica Powder (Cool Mint, Polar and Olive Grove) with some gel medium. The Colour Mica Powders are pigment only so if you want them to stick you need to add them to a medium.  I didn't want to dilute the colour so I used the gel medium. I then added a spritz of water to make it fluid consistency.


I dabbed it on haphazardly and then gave it another spritz of water to let it to sink deep into the cracks. Using a paper towel I dabbed off the excess. The white is the water reacting with gel medium, don't worry.. It dries clear..


I repeated the process with all three colours, drying in between. Using my damp paper towel I dabbed over the project to add colour to the rest of the canvas as well. Keep playing until you are satisfied.  
Once this was dry I used some Colour Blast White Heavy Gesso to dry brush the whole project to lift the contours out of the collage. 


I mixed up some colour out of my Colour Shimmer pot in Singing the Blues and Bling. I used just enough water to activate the pigment and dry brushed them onto the cherub and the butterfly.


Check out the subtle shimmery effect the puddles have left. The Deep Water Colour Paste has a total resist effect and has not lost any of its shine during the process.


Here are some close ups!!


To finish off the page I used Colour Mica Powder in Leather to a title I had in my stash and were done..  


Thanks for looking and if you like to play with the Black Heavy Gesso and Colour Mica Powders be sure to upload your take in the Colour Blast Creative Corner on Facebook
Ciao for now... Kristy. 


Sunday, 23 September 2018

Art and Soul - Journal Inspiration - Braver, Smarter, Stronger & Loved!

Morning Tribe...
Loved doing this one and finally getting a chance to play with some fluid acrylics and my brayer... 


I applied three layers of paint onto an old book with my brayer. I put the paint onto my craft sheet first and gave it a spritz of water to activate the fluidity.

I then used two stencils, both from Dusty Attic to add some interest on the background and applied with a sponge dabber to avoid bleeds. I used a cap to create some circles and added a few splatters while the paint was juicy. 

Finally got to try this colour Quinacridone Gold.. One of my favourite journal artists uses this colour and I wanted to see what all the fuss was about. Knowing I love earthy tones.. I am in love too.


I used Gel Medium to apply some strips of paper to the page and rubbed alight coat of Gesso onto the top so I could apply paint. The paint doesn't like to stick to the gel medium otherwise. 

I used my cap to add some more circles to try and pull the foreground into the background. I used the dark grey colour from my first layer to do this.


I dabbed some colour onto the top of the page and spritzed with water to get the paint to run. I then repeated the process with a turquoise colour to create a patina effect.


To add some depth to the background I used a charcoal pencil to outline the strips of paper and create some shadows.


I wasn't really sure what I wanted to do with the circles... I still wanted to play with the fluid acrylics and picked up an off white colour and some watercolour pencils in similar shades. 


I put one coat of paint on the page as a base. I applied the pigment from the pencil and then applied a second layer of paint and then blended it in.
To finish them off I outlined the circles with the charcoal pencil and blended.


I ran a piece of string off the roll and let it fall onto the page. I attached it with Brads and stuck my title down... DONE!! 
So easy! Check out some of the close ups below and check out the full product list below... Thanks for looking!


Product used:
Dark Grey / Medium Grey / Raw Sienna / Titan Buff / Quinacridone Gold / Cobalt turquoise
Dusty attic Stencil  - Cross hatch and Checker plate
Brads, Cogs and paper strips from my stash