Showing posts with label Colour Blast. Show all posts

Tuesday, 5 March 2019

Blue Magnolia - Colour Blast

Hi Colour Blasters, 
This time round I have done something a little different. While I was preparing my class for Scrapbook Superstore in Penrith I had a play at creating a new Colour Blast Colour Paste shade to use with my papers as the standard colours just didn't match... We scrappers like things to match or compliment don't we??


So this is how it began...
I grabbed all my pots of Blues in the Colour Blast Colour Pastes: Just Blue, Singing the blues, Deep water and my Favourite Envy!! I swatched them and compared them to the paper I was working on. None of them made me happy so while I had all my pots out together I tried blending them...

 
I was starting to get some really cool variations on the standard colours. And made some notes on the rough ratio so I could reproduce the colour later. 


Once I had decided on which colour to use I made up a bigger batch. I used Colour Paste in Envy and Just Blue in a ratio of 4:1 so I didn't lose that super green shade in the blue. 

 I found that I lost some of the blue... and had to top up so I changed my ratio to 5:2.

 Perfect!

Now I could get on with using my Michelle Grant Stencil - Live your Dreams.

Here are a few images from the finished layout. I hope next time you don't have the EXACT shade you do some colour matching too.


Abela Artistry
Let me know how you go by posting your experiments on our Facebook Page - Colour Blast Creative Corner.

Wednesday, 20 February 2019

Sunkissed Summer Days - Colour Blast

Hi everybody. 
I had so much fun with the pink grunge that I tried to do something similar, with a twist. I love this one as it has a real comic book feel to it, check it out! Lots of watery effects and Black & White + One.


 Here is the full effect!


To start with I used a large stamp and stamped half the page filling in gaps and using the part of the stamp that appealed to me the most. Those eyes!! I'm in love...  Make sure you use Archival ink for this step. If you dont you will have colour runs later. 

I had a stamping fail the first time I tried to create the background! As it goes in Mixed Media though... There are no mistakes, only Opportunities! Ephemera, I hear you say.. stay tuned!


Time for some colouring in!! I grabbed a handful of blues and greens. In the end I felt that the Green wasn't the look for this page and in settled on Colour Artist Inks - Calypso and  Colour Shimmer Dust in Peacock, Cobalt, Duke and Midnight. 
TIP: I made some misters - so much easier for me when working on my Glass craft mat.

 
Using Colour Blast Heavy Gesso in Black I coloured in some of my favorite Dusty Attic Chipboard!! 

TIP: Use a makeup sponge.. Perfect application!
 For the final product I used a little bit of Wax to highlight them. I wanted to keep the background neutral so it would give the Colour Blast Colour Shimmer Paste the focus... You will see that coming up.


I used three different shades of Colour Paste. I put Stormy Weather and Steel side by side on my palette to create some colour variation in the bricks. I used Colour Paste Dusty Charcoal for the numbers. 
I used a graduated hand when applying through my stencil for variation.
I love the way that the stamping came through in some areas.


Look at how cool this turned out!!
I added some extra stamping in an script and some checkers to bring the brickwork closer to the action. 
You can see that in the final image.


And what project is complete without Splatters!! I added some in an earthy tone. We were saturated with Blues and Blacks. I used my Colour Blast Colour Spray in Coffee.


 Here is a close up of the final layout with all the elements blended together. I used a pigment pen to highlight some of the features in the ephemera I created and DONE!!
 

Make sure that you check out the new release collection from Michelle Grant if you are a Grunge Fan!! 
Her February release is AMAZING!! Graffiti Grunge. 
If i have inspired you pop your project onto Facebook!  
Abela Artistry

Tuesday, 5 February 2019

So Handsome - Colour Blast Australia

Hi Everyone
I am back on the blog today after a whirlwind trip to Phoenix Arizona for Creativation!! 
What an experience that was... 
I am fresh fill of ideas and inspiration for you all in 2019.. 


This was my youngest at his Y6 Farewell.. last in the nest and growing waaayyy to quickly!


  For this one I wanted to create a grungy look considering he was wearing pink... I was challenged recently by another DT member to try this one out so here we go - Challenge accepted!


I started by spilling some Colour Artist Ink in Slipper on the page and drying it while it pooled to create the layers of rings around the edge. I then grabbed some stamps and created a frame for where the photo will sit.


I had made some misters earlier for my Colour Shimmer Dust so had some on the go at any time..
I used velvet for this one and used the spray to colour my Chipboard from Dusty Attic. Once finished I used my Colour Blast Gesso White to dry brush over the top to add a weathered look to the harlequin discs. Once done with that I Embossed my title in Stormy Sky with Colour Embossing Powder


 Here is a close up of the effect I created.


To finish off I added some string with brads and some textured paper to build up the background. Then I dusted on some microbeads... and voila... Too easy!


Thanks for looking! Make sure if you try out these techniques to pop your project onto our Facebook Colour Blast Creative Corner.


Tuesday, 6 November 2018

Paper Dolls for Colour Blast Australia

Welcome back peeps to my new journal page.
I am using a layering technique here where I create colour and then push it into the background with a neutral and then repeat the process till I am comfortable with the look. I loved the quote in this; when I journal I never know what I am going to get. Let me walk you through the process.


I squeezed on my work surface Colour Artist Ink in Grass. I didn't dilute this as I wanted to have a really vibrant back ground come through all my layers.


I turned over the page and smooshed and dabbed spreading the colour as far as it would go.


I repeated the process with Colour Artist Ink Barley and then Walnut using only a small amount of the darkest colour so I didn't drown out the others


I had planned to spray the Colour Spray Grape through the mask and add another layer (bottom corner) but felt that it was going to drown out the original brights. SO... I flipped the mask over and used it like a stamp seeing as it was already loaded with ink.


I wanted to add some texture and contrast. Here I used my Colour Paste in Sunshine and lightened the page again.  


When you do this style you have to able to surrender your background an not be afraid to cover it up. A total leap of faith!


So here you can see that I have added a neutral layer, by adding black or white to the project you create a fresh surface to alter.


I added a layer of interest with my Colour Paste in Steel...


I'm jumping ahead a little.. Using my Michelle Grant Stencil from the Flight of Fancy range I added a neutral layer in White with Colour Blast Heavy Gesso... And pushed it into the background again with the a black layer.. (you can use an inkpad or Heavy Gesso Black with a sponge) and darken the edges to close in the focus of the project.

I lost a few pictures along the way but if you look closely at the original pic you can see that I blended the background in with some Colour Blast Heavy Gesso in white so I could add my focal point as a feature. With so much noise in the background I ran the risk of a hot mess... I used my finger to smudge it on so I didn't get a thick layer and cover it up all together..


I used a charcoal pencil to outline the Paper Dolls. Another technique for focusing the eye and added a rub of my Colour Shimmer Brush Marker in Clear to the buttons. Splattered away making sure I had covered up my focal point and Viola!!


Hope you enjoyed this process and will give it a go.. I really like knowing if I have managed to inspire.. Post some pics of how you went on our Facebook page or leave a comment on my post. 
Thanks for looking! 

Abela Artistry

Saturday, 27 October 2018

Art and Soul Studio Moodboard Challenge - Fitzy


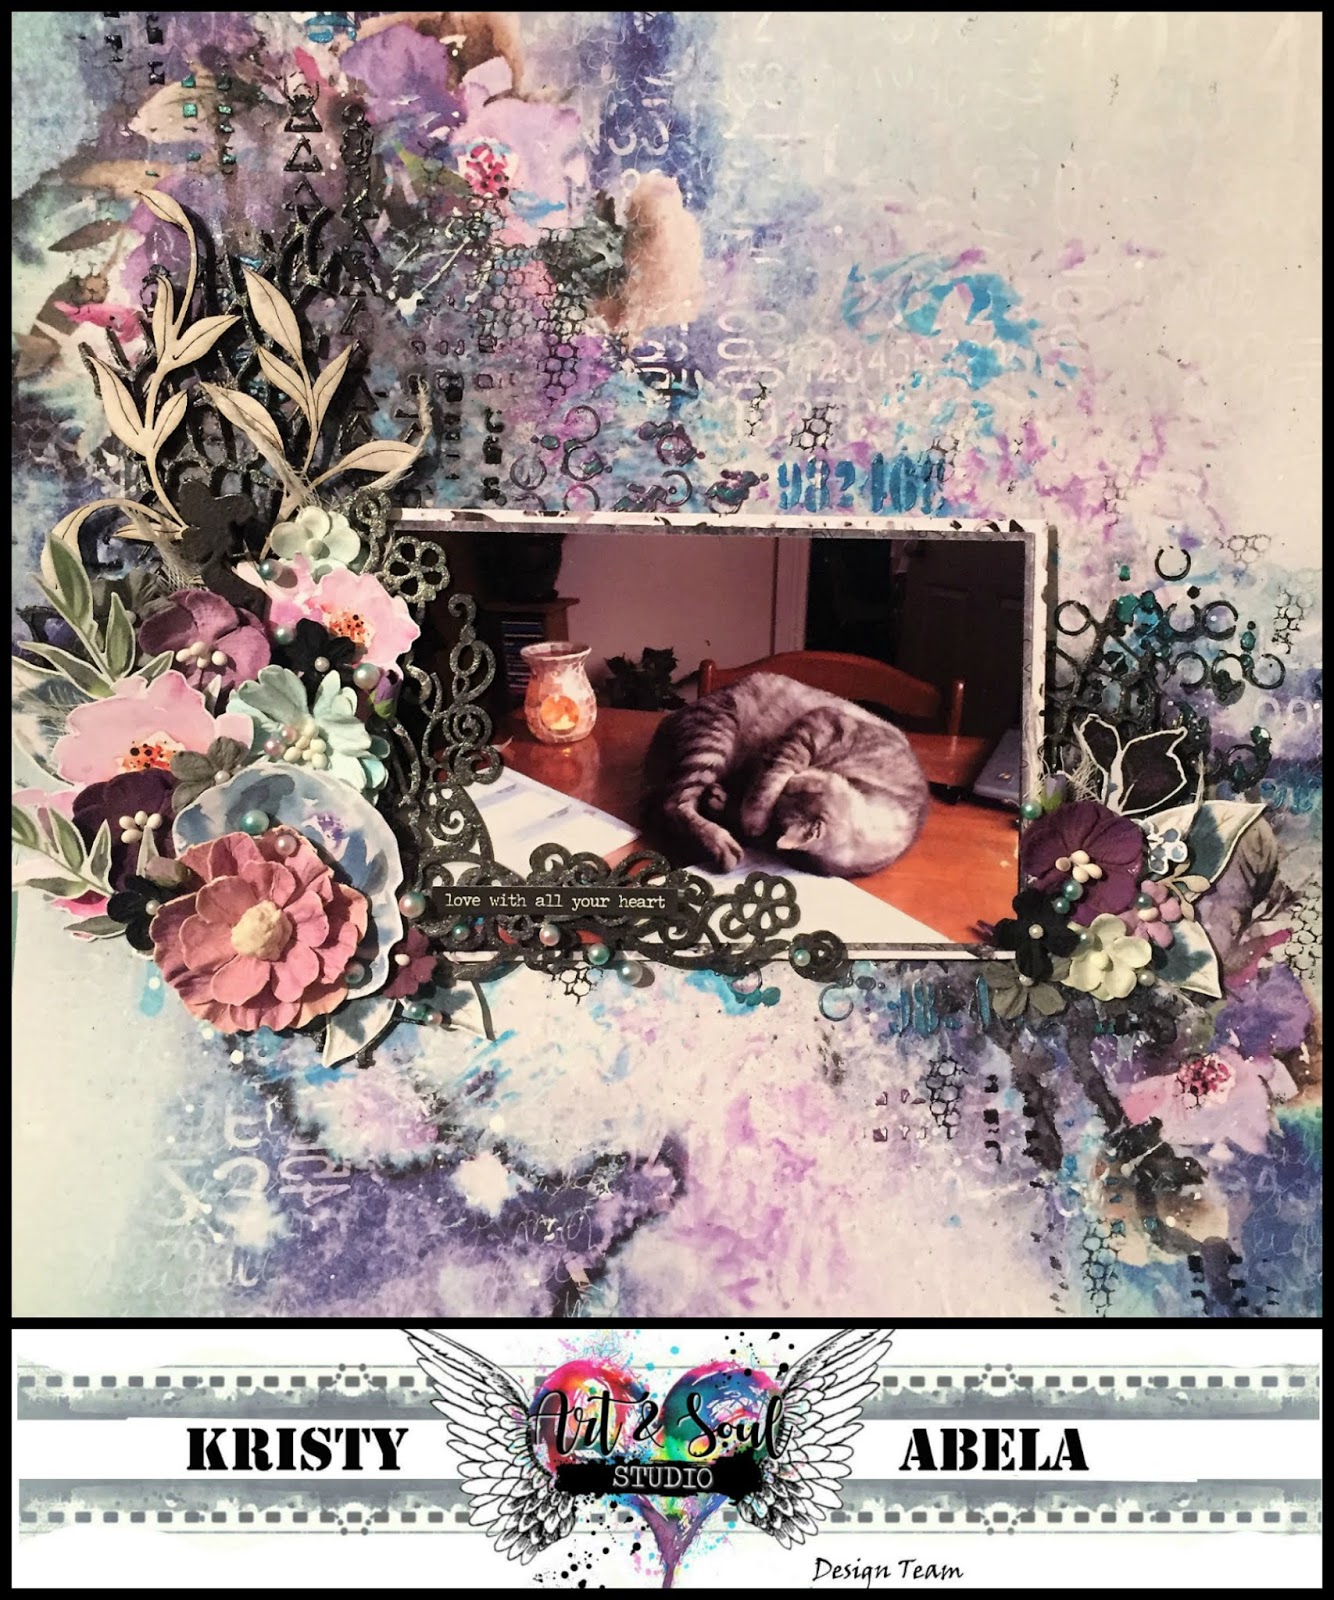
Ah... The love of an animal..
This is my recently dearly departed soul mate. We all have one cross our paths in this lifetime.
I go to extremes recording memories of my happy moments with the people I love, this time it was a moment I love with him.


I got to use the Fabulous Colour Blast products and  my shipment of 13@rts new release papers arrived in time for this one. Here's a quick few process pics.. 


I put some Colour Blast Gesso White onto a piece of plastic wrap and misted it with water. I used that as a stamp to give me a nice clear area to work with in the middle. I also used Caribbean and Grape Colour Sprays in the same manner to meet the rules of the Moodboard Challenge. 


Using my Aall & Create stencil I used the Colour Paste to create my texture. I used two swipes through on the same stencil to soften the tones in the paste. I used Dusty Charcoal and Envy.


Check out the difference in colour from Wet to Dry!


I repeated the same process with the Singing The Blues Colour Paste and created a  frame for my focal point. 


Next I added some drippage with the Colour Spray bottles by using the applicator to the page and misted lightly with water to help it run.


I love this Fairy from Dusty Attic.. I often have her blowing some Fairy Dust across my pages.. I used a Vine Chipboard from Little Birdie and Netting from Dusty Attic to build the collage. I used my Colour Blast Shimmer pen over my chipboard to give it a sparkle. Done!!


I used some Cheesecloth and some Flowers from 49th & Market with the Ephemera elements from 13@rts to finish off. The beads came from 'Which Craft Do You Do?'. 

Abela Artistry
If you enjoyed this project. Check out our Mood Board and join in on our challenge this month.. Here are the rules.. 


Mood Board Challenge Rules

Please use our mood board as inspiration to create an art journal page, a card or a scrapbooking layout. Use the mood board however you want but you must add a butterfly on your project.

As these challenges are sponsored by Art and Soul Studio please make sure that you use at least one product that is available from the store.

There are 3 x $50 vouchers up for grabs!! One will be awarded for scrapbooking layouts, one for cards and one for mixed media/art journaling.

You can enter an art journal page, a card and a layout but you cannot win all three.

You have until the 11:59pm on the 31st October to enter and then the design team will vote to determine the lucky winners.

Please note that the vouchers can only be won by residents of Australia but if you are from overseas and win the challenge you will be offered a guest design team spot.