Tuesday 26 December 2017

Dusty Attic Mood Board Challenge December 2017


December Challenge 2017

Boy... am I glad Christmas is over... Every second year we share our boys with their other parent which is great for some quality time together.. But it's just not quite the same without them.. Which I why on Boxing day I have a chance to catch up on my blog.. 

I was in love with this mood board right from the get go... I saw those stones and knew instantly I had a secret ingredient for this months challenge. Take a look.. 

Can you see what it is... Its Jade crystals that my gypsy soul has held on to for an eon.. 
They are just precious..

I created the focal point with a Prima Marketing mold, added Gesso and coloured away with Lindy's Merci Beaucoup Mint and  Midnight Rendevous Raven. After that I added a rub of Finnabair Waxes in Vintage silk and a Cuts 2 love badge as a topper.


I used my Dusty Attic Clocks and the Sweet Pea Frame set for my Chippie... I used Gesso and Finnabair wax vintage silk to give the clocks a it of colour.. I really didnt want them to take over the page... I wanted my frames to do that.

I cut the frame up and used them as a frame to drape my succulents on. I got some Guten Tag Teal embossing powder in my Christmas pressies and was itching to use it.. Ok  -so i might have opened that present early..

I used some Lindys  'Jack in the Pulpit Teal' to colour my Succulent Dies and frosted the tips with some BO Bunny Glitter paste in 'Seafoam'.


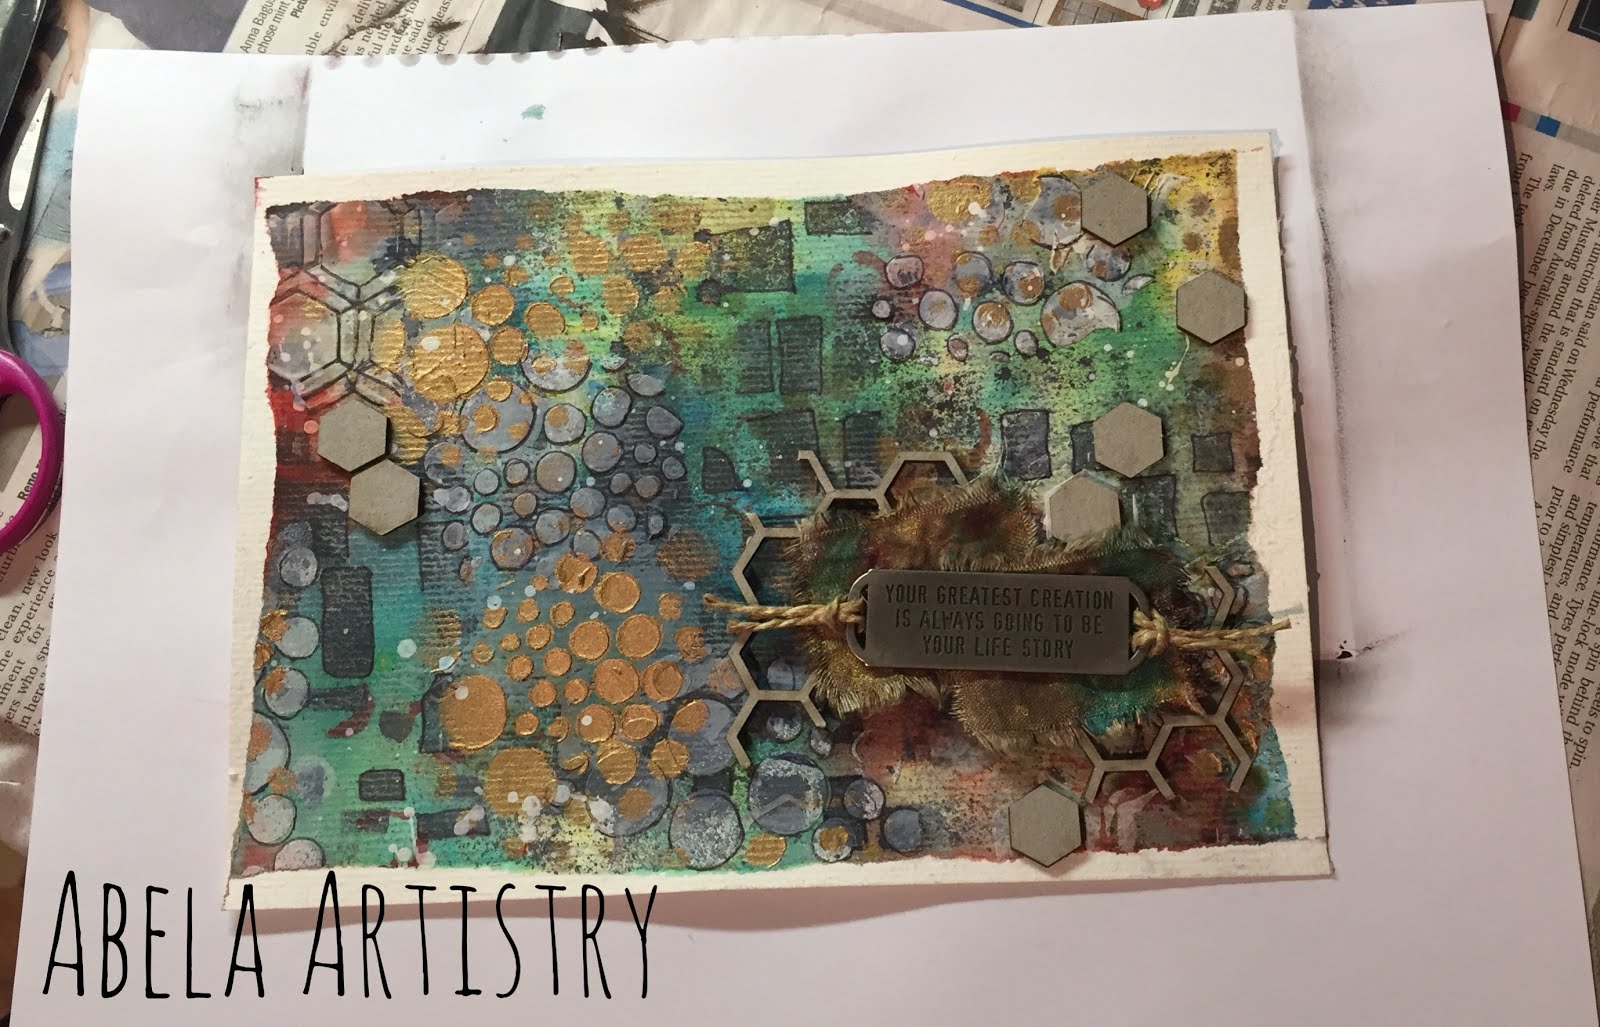
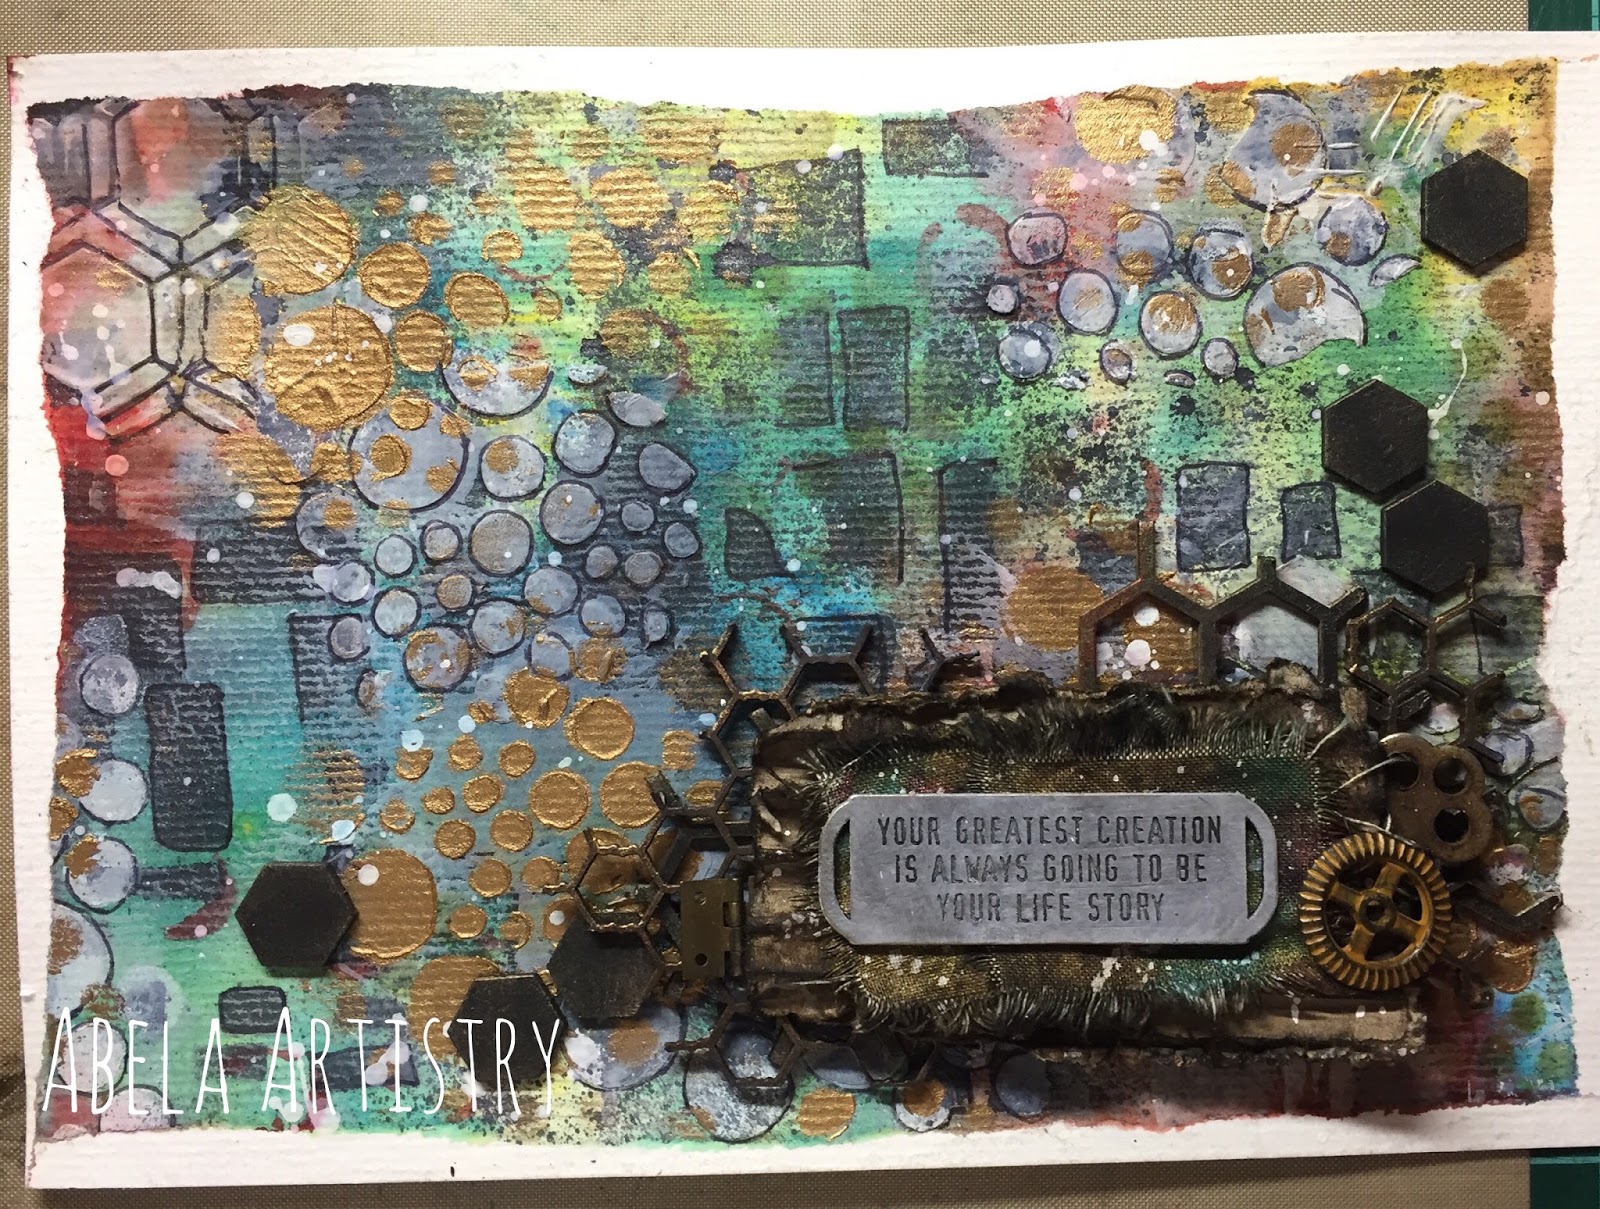
Here I used my Script stencil from Dusty Attic to create some depth to the background and used my Nuvo Embossing paste. I used clear gesso to prepare the background and before it was completely dry added Lindy's Merci Beaucoup Mint embossing powder. you can see it near the stamping.. It looks and feels fabulous.

I could go on all day about the products and techniques I used... But I just wanted to say thanks to Dusty Attic. These are the links to the products used! If you like this then check out my Instagram... AbelaArtistry
Ciao for now... Kristy Abela!!

Thursday 30 November 2017

Mixed Media Warriors November Challenge - #2 layout with Amber Moon - My Creative Scrapbook - Limited Edition Kit

Wyzwanie listopadowe MMW | November MMW Challenge
Mixed Media Warriors Mood Board Challenge November 2017


Hi Peeps...

I just love that word... For us artists its like we are peeping at a new creation, however in my sons urban dictionary it is a reference to people.. Ah, Ambiguity - the secret to art!

Today I have a layout for you to peeps to peep at... 

I haven't done a traditional Mixed media layout for a while but when I saw the colours in this set I was itching to try it out.


I collected a few of my favourite pieces from the kit... Ones that didn't actually reference Thanksgiving as we don't celebrate it in Australia. 


I distressed the edges of the card stock and inked them with Tim Holtz distress ink (Vintage Photo and Tea Dye). 


I then added some Art Alchemy Acrylic paint (Brass Hardware) to give the edges the same foil look that was embossed in the card stock in the background and on the chip board. 


I found some textiles to accentuate the textures. I used some cheesecloth and some hessian which compliments the woolens in the mood board. 


I used clear gesso to prepare my background and used modelling paste to add the stencil from Prima marketing (Shell Ginger).  


I used Lindy's Stamp Gang Sprays in Lucky Shamrock Green and Kissin Kenicke Coral to colour the background and used Tim Holtz Distress spray to add depth to the Gingers. 


In the corners I used a TCW stencil (Corn Cob) to add another layer to frame my work. I added some paint splatters to finish off.


Once the background was painted I added a stamp from Kaisercraft to add the butterflies.. 


and found a butterfly mask in my stash.. another TCW winner. 


This you can see on later images.


I attached the cheesecloth and embellishments and flowers. I raided the Chipboards and Ephemera to complete the page. 


I changed the frame (Prima - Petite round) from the large one to the small one and painted it with Kaisercraft acrylic paint (Mango) and used Tim Holtz distress spray in Walnut in for depth. 


I added some mica flakes, Art stones, mini prills and sequins to the cracks and crevices to fill out my design. 


I used a final touch of  Art Alchemy Acrylic paint (Brass Hardware) to the embellishments.


Rubbed some Art Alchemy Wax in Aged Brass over the modelling paste for a bit of additional bling. 


Check out these close ups of the finished product. 


Finished did you say?? Well.. NO!

I really didn't like the colour of the frame so I gave it a coat of Burnt Sienna from Kaisercraft acrylic paints and used Art Alchemy Acrylic wax in Vintage silk to highlight the texture... 


And that is the final product in the photo at the top. 


Thanks for having a look at my creative process on my blog... 
If you want to see more you can follow my page by clicking the link or check out my Instagram - Abela.Artisty! 

Cheers... Kristy!! 

Mixed Media Warriors - November Mood Board Challenge - Tag


Wyzwanie listopadowe MMW | November MMW Challenge
Mixed Media Warriors November 2017 Challenge


Wow... I was alerted to this challenge just today by Instagram!
The wonderful team at Mixed Media Warriors paid me the ultimate flattery of following my page. Many thanks all.

Fortunately the stars aligned and it just happened to fit with work I did with the Amber Moon collection by Frank Garcia from Prima Marketing. I really had no idea I was going to have so much fun with these papers and embellishments considering we don't celebrate Thanksgiving in Australia ... and it is SPRING here!

Check out my creative process below.. 

I took a tag and used some of my home made Modelling paste and added some texture to the back ground with a Dyan Reaveley Stencil - Bubbles. I also added some Crackle Paste by Finnabair to give it a vintage feel. I used the tissue paper to draw the colour out of the Tim Holtz distress spray - Walnut. I find that this intensifies the colour which can be washed out when applied directly to modelling paste in the background. This gave me varying tones with the one product.  


Once dry I rubbed some Art Alchemy Waxes (Polished Brass) into the crackle to intensify the effect and a light coat of gesso to tie all the textures together. I really love raw fabric textures in my work. I think they give a really earthy feel to any project. So I found some jute twine and some hessian ribbon and played with the composition until I was happy with the balance. I distressed the edges of the card stock and inked them with Tim Holtz Walnut and Rusty Hinge stamp pads and I added some text stamps to the background by Finnabair .. 


Next I worked on sticking my focal point together. After much arranging and rearranging I felt comfortable with the overall balance and added my finishing touches. 

I used some Art Alchemy metallic paint (steampunk Copper) to gild the edges of the card stock, Added some Flowers from Frank Garcias' Amber Moon Collection and some Art Stones from Finnabair.. 

Splash on a few sequins and some micro beads... 

All adding to the fresh earthy feel...

Finished... Have a look at some close ups below!
Thanks for checking in.. Have a look at my Amber moon Mixed Media Layout on my blog too for more inspiration.

Much Love... Kristy!


Wednesday 22 November 2017

Dusty Attic Mood Board Challenge November 2017


    November Challenge 2017

Hi Peeps, 

The last challenge I did was back in January.. Can you believe how quickly this year has gone! I have spent lots of time in my study.. Me on one desk and the boys on theirs... developing both our skills, albeit in differing areas!

When I saw this challenge.. Lots of earthy, industrial colours. I knew exactly what I was going to do!!

See this awesome background... I wanted to play with organic shapes and rusty toned colours. I had absolutely no plan, I just wanted to layer up.


I loved the neutral colours in the chipboard.. but decided that they needed to be showcased. So..  loaded them up with Black Gesso and pulled out my Waxes so I could work with their metallic effects. 


I wasn't confident with the orientation of the project so I flipped it!! So glad I did.. It gave way to the perpendicular lines of Corrugated Iron that is represented in the Mood board.. Not sure if its all that clear but I love the way the light dances on the metallic waxes in the Chipboard.


Who doesn't love a Work-in-progress pic! 
AND... a close up!!


Thanks for checking in and having a look! Don't forget to have a look at the Dusty Attic website for all the cool grunge chipboard for your next project!

Dusty Attic - Mini Chicken Wire  Dusty Attic - Honeycomb Medium

Image 1

Sunday 29 January 2017

Dusty Attic Mood Board Challenge


Hi there fellow Arty Crafters..
I have a new contribution to share with you. With all the sunshine Australians have had over Christmas I have been so typically Australian and soaked up the surf. Dusty Attics mood board challenge resonated with the blues I have been drinking in this summer. My kids were lucky enough to be born in a coastal country town and they tend to let loose on the sand and rocks and the lapping of the surf. So when I took this picture it captured my youngest sons sense of mischief and adventure. I hope you like it!!

Here is my fresh aquatic version of the Mood Board challenge. I used a background already created for me by Kaiser from their Salty Kisses range.


For this I love the shine in the Lindy Stamp Gang range of products. Reminiscent of the sun glistening on the water. I especially love the watermark it created on the splotch.
 
I feel as though you never know what you  will find in the ocean and this section is my 'fisherman's catch'.. I created it with Dusty Attic Ornate Frame 7. I loved the way the flourish reminded me of the images you see when you watch waves crash.
 I am in love with these fronds!! The perfect tropical accent  to any beach page. these particular ones are Tropical Foilage 1. I was digging into my stash and found some very old Making Memories beads! I love the way the look like little fish eggs or bubbles. 

 I wanted to add some cut out sections... you never know whats lurking beneath, after all... This is Australia!!

Friday 6 January 2017

Lindy's Stamp Gang January 2017 Colour Challenge

Welcome to you all... by Kabela

Friday 6th January 2017

https://blog.lindystampgang.com/2017/01/01/january-2017-color-challenge/


Here's my contribution.

That colour pallet inspired "Sunshine after the rain" for me.

My son had a stormy year last year and has started to believe in himself so much more. He's now a ray of sunshine rather than doom and gloom. I took this photo of him sitting on a large rock at the beach late last year and here I can see a calm in him that is just pure gold.

I don't know what made me take that picture in black and white considering it was a perfect blue sky day. Luckily I did... it fit the mood board challenge and I believe...  created a little bit of divine synergy for us both. Here's my first blog and contribution to any challenge anywhere, ever!!
Its my time to .... BELIEVE!


I wrapped the canvas in tissue paper to create a full layer of texture to base my other layers on. It worked amazingly for picking up the pigments in the Lindy's sprays and in the end I didn't want to cover them with texture paste. I highlighted the ridges with white gesso to emphasise the depths and Art Alchemy Steampunk Copper to highlight the peaks.


I have a rather organic feel when I create and used elements found in nature such as the honeycomb and card stock to ground the dreams like qualities in the picture. I used paint splatters to add to the whimsical mystical qualities of the moment I captured.


Some closer looks at the collage. 


I still think that the fluorescent light captures the metallic elements better than the ceiling lights but the ceiling gives the canvas much truer colour.


Product list.

Steampunk Sepia
Gag me with a spoon grey