Tuesday 30 July 2019

Believe in Magic - The Crafters Workshop - Guest DT July 2019

Hi Crafters!
I have my project to share with you today. 
My two passions are Paper Craft and Canvas.
I have put together a fun outdoor inspiration featuring the Winter 2019 collection.

I used a folded page and doubled the image in my junk journal...  
One for a warmer summer scene for my northern hemispher-ian crafters... 
and then for a cooler scene... for my fellow Southerners... This Aussie would rather the heat.
Hope you like my project and Happy Crafting!! 


To start I grabbed some paint. Chalk, acrylic, fluid acrylic, oxide re-inker and brayered my 'lil heart out! I used the background to test the paints against the surface so I just kept going until I had a background I was happy with. I was having so much fun experimenting. I flipped the page and kept going...


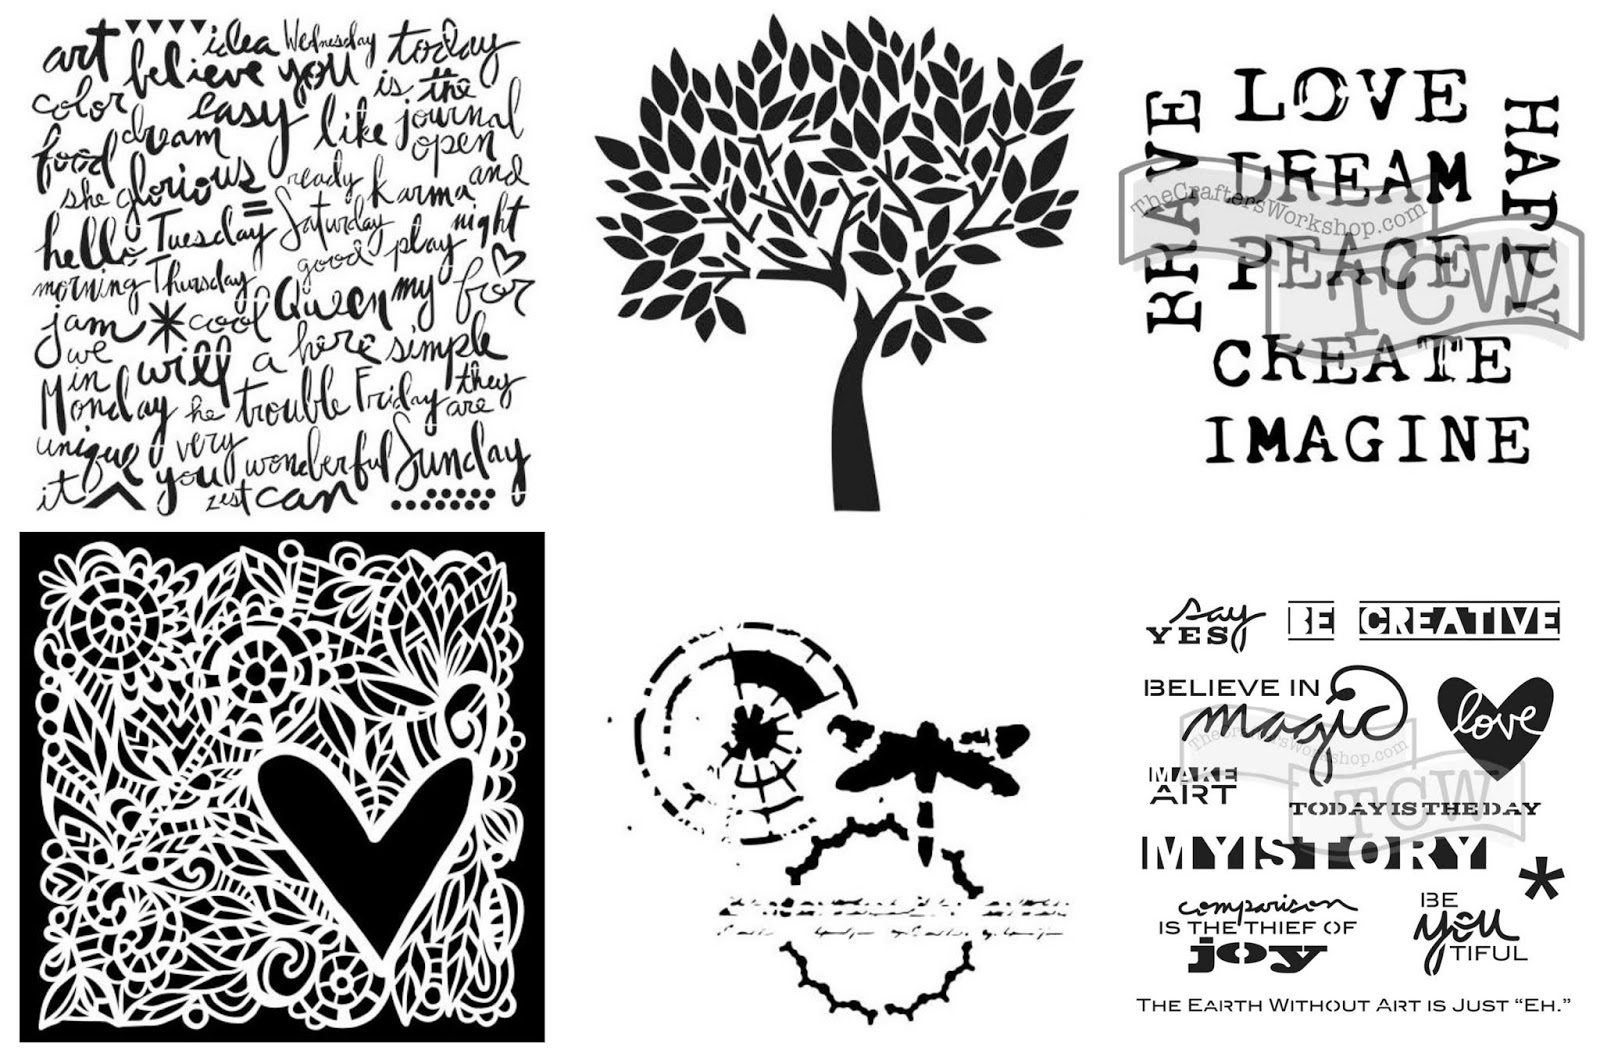
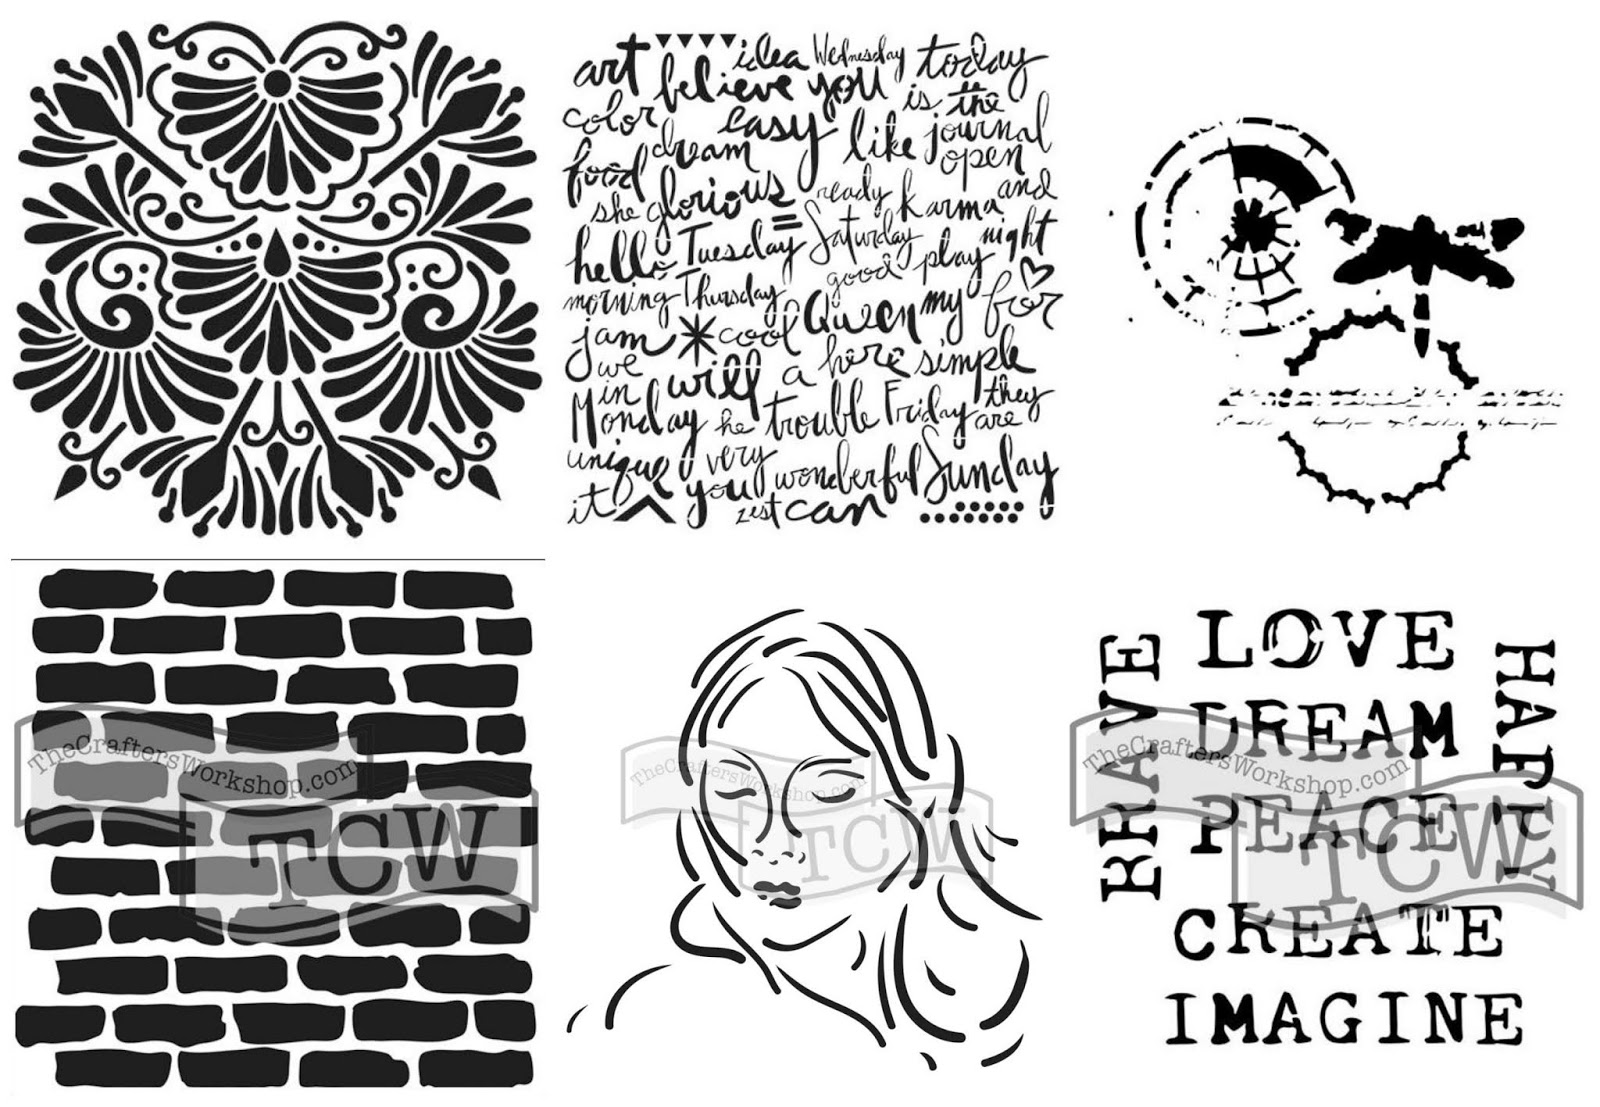
When I journal it is very much about letting the mediums speak to me and form ideas in my mind... Once I finished brayering I used TCW832 Script Words and TCW773 Connected Dots to break up the background.


I am in TOTAL love with this stencil. 
Faithful Tree TCW831 (12 x 12) is going to get a big workout. 
Here I shadowed the stenciling using two shades of the same colour. I then added a touch of yellow towards the tips. Here is the step by step for the "Warm" page


I am a bit of nature lover and feel powerfully energised when I am immersed in nature. 
 TCW686 Julies Words really resonated with me. 
I have also found a new staple for my Mixed Media stash... TCW9047 Black modelling paste
The texture is thick and the finish is a perfect matt. 


For the final embellishment I used Inspired Words TCW585 - I love the words and had planned to use them as a title on my other TCW Guest DT post. I couldn't decide; so I created a whole sheet of titles. The remainders I used here as inspiration words.. for now and then when Summer comes. I used TCW9047 Black modelling paste on cardstock and inked the edges with an inkpad!! Super quick and easy. 


Here are some close ups of the way the 
TCW Stencils came up on the page!


Can you see the texture in the modelling paste? LOVE, LOVE, LOVE!


No page is complete without a little bit of bling!! 
I really made sure y'all knew which was my preference!! I used the heart of Love Frame TCW825 as a focal point with my TCW9036 Champagne Gold Modelling Paste


I have really enjoyed the opportunity to play with some generously donated TCW mediums and stencils. Thank you to Cheryl and the team at TCW and keep watching my Instagram for some more #tcwstencillove


Tuesday 23 July 2019

Be Good - Dusty Attic Inspiration

Welcome back to the next exciting episode of Dusty Attic Mixed Media!!
Well, in all seriousness, its another month of Dusty Attic play! I am blessed...

I am a sucker for Industrial Grunge. This month I created a cool teen boy gift. I have 4 sons and once they hit 14... I was stumped for gift ideas. 

I started framing layouts and hanging them in their rooms and making little canvases for their friends. The guys love them. 
In this day and age where photos and cards are enjoyed electronically this keeps the moment alive.. just a little bit longer.


I love how the light from the back of my house played with the tones of the canvas.. I got warm from the front!


I laid some card onto the canvas panel and used some black modelling paste to create some texture with the Checker Plate Stencil. I cut my chipboard to fit half the page & primed with white Gesso.
I had a play with my Stamps in Black and Blue Archival. There is an amazing Archival pigment pad on the market and the colour is vibrant and thick. 


I wanted to have a go at using my Distress Oxides on this project... I think i am in love. I used the re-inkers as a paint and they gave me a beautiful matt finish with Oxide tones... Heavenly! I used Rust Paste on the wall and spritzed it with water t get the run marks. Awesome trick I learnt from Finnabair herself when she was in Sydney. you can see all the elements in play in this pic!


I love these brushes... using real ones on a layout is super hot right now but I have found them to be awkward to work with... Solution = Chipboards!!
With this one I primed the Brushes in white and used clear embossing powder and Distress Oxides to colour... I love the way that the ink settled into all the pits and troughs... that was a 'happy accident'!


I used distress paste on these... I wanted a really rough weathered look to the steampunk parts. I highlighted some of the ridges with Silver and Copper waxes. 


Here's a better look....


Speaks for itself... Beautiful embossing powders from ... yep, the stamp gang!


I hope you enjoyed looking at the various ways to dress up chipboard and create your own gift.


If you liked my project be sure to look at the Dusty Attic products below and jump on to their website and snatch them up!

Abela Artistry


Saturday 13 July 2019

Mia - The Crafters Workshop - Guest DT July 19


Hi there Mixed Media Stencil Crafters.
I am so excited to be on the blog this month to show you my #tcwstencilLove. I have been experimenting with so many different styles of mixed media and I a can't live with just one. 
I cant call myself a designer, I rarely have a plan when I create When I create I let the mediums show me how to pull my designs together intuitively. I look at ways to really add some fun and take the techniques to class rather than the pattern.

 For you all I have shown you the process of how I transition a recycled canvas and between mediums and discover the bonus effect of layering before discovering a textured focal point. This process can be applied to almost any surface and will take many mediums a to create very different designs.

This one I'd created featuring stencils from the winter release '19 range from The Crafters Workshop.


To kick off I grabbed a handful of bright acrylics and old book paper. I put blobs of paint on the canvas and spread it with my brayer. I placed over the canvas a 12 x 12 TCW191 Bricks Stencil and used a wipe to create a shadow. I stuck down random strips of book paper and covered the pages with acrylics and spread with the brayer again. I sponged Gesso through a 12 x 12 TCW858 Delicate Impressions Stencil from the Winter 2019 release. 
The dragonfly is GORGEOUS!
 I like the format of the 12x12 as it allows for focal points to be proportionate to the size of most off the page projects. I repeated the brayer and stencil process until I was satisfied.


 I believe my best mixed media projects come from my ability to let go of a background. The canvas would be great just the way it is, right? Maybe...
However I love the complexity you can get from doing just a bit more''. So here I go... I added a contrasting layer to push the first set of colours into the background and creating a base for the next layer. I used stencil TCW833 Fantastical in 6x6.


I added some crackle paste to the page hoping to get the really bright background to pop through... It didn't happen so I pushed it into the background with another stencil I found in the New Winter Release TCW832 Script Words.


In order to finish off the second layer I added one final layer with the brayer. I wasn't getting any paint into the cracks with the brayer and rubbed some in with my fingertip. I used a wipe to blend it and finished off with some stamping.


LOOK AT THOSE LAYERS
I dry brushed some black paint over the whole project... we found the cracks!!


I wasn't so keen on the black. It seemed too final.
Lime and Coral will fix that!! 
One last time brayer...


I was really happy with canvas it was only a background so I needed to build a focal point. Tissue paper is great. A little TCW Gel Medium Matte and it is semi-transparent.


Here is another favourite of mine... I can now add a little bit of bling to my chipboard in minutes. 
I used a foil and TCW Tacky-when-Dry Medium. Once it was dry I used a gel pen to outline the score marks in the chipboard. 


I needed to create my focal point . I really wanted to use the metallic pastes for this one; I was really keen to see how they contrast over the black layer. I used the stencil TCW697 Mia. I teamed that up with some chipboard aiming for flowing locks. 

In this image I blended several colours on mixing plate and loaded up the pallet knife with paste. I applied it diagonally over the stencil to create striations. I scraped the excess off onto the canvas intending to use it as a base for the hair.

I placed my chipboard into the paste using it as an adhesive. Using a paper towel I created some peaks in the hair. 
To finish off I used some TCW Black Modelling Paste on my finger and rubbed it onto the chipboard and dry brushed it over the peaks.


I loved this paste. It is thick and flexible and has amazing dimension. 
Its my new staple and here is why. 

I collaged some feminine elements into Mia's hair and created the title. Look at the  titles I created with the stencil. Absolutely love them and the possibilities...


Thanks for looking and if you are keen to see more of what I create then click on my image below. 

Insert Image