
Hi there Mixed Media Stencil Crafters.
I am so excited to be on the blog this month to show you my #tcwstencilLove. I have been experimenting with so many different styles of mixed media and I a can't live with just one.
I cant call myself a designer, I rarely have a plan when I create When I create I let the mediums show me how to pull my designs together intuitively. I look at ways to really add some fun and take the techniques to class rather than the pattern.
For you all I have shown you the process of how I transition a recycled canvas and between mediums and discover the bonus effect of layering before discovering a textured focal point. This process can be applied to almost any surface and will take many mediums a to create very different designs.
This one I'd created featuring stencils from the winter release '19 range from The Crafters Workshop.


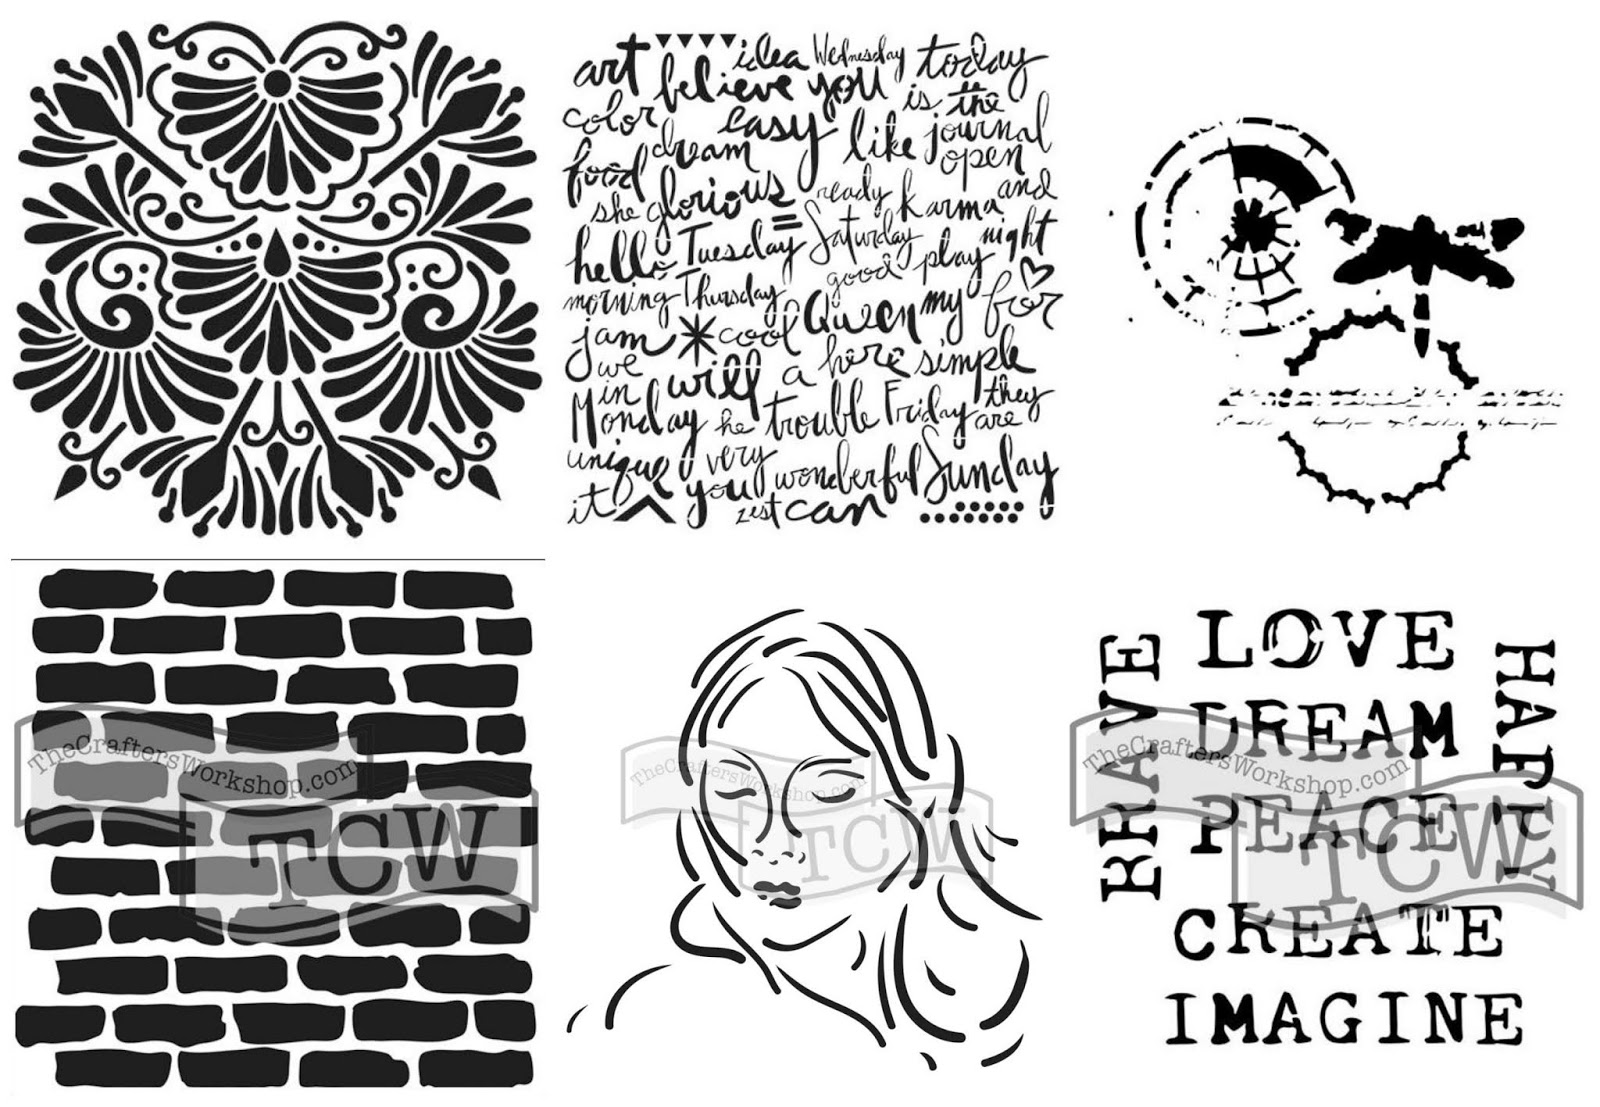
To kick off I grabbed a handful of bright acrylics and old book paper. I put blobs of paint on the canvas and spread it with my brayer. I placed over the canvas a 12 x 12 TCW191 Bricks Stencil and used a wipe to create a shadow. I stuck down random strips of book paper and covered the pages with acrylics and spread with the brayer again. I sponged Gesso through a 12 x 12 TCW858 Delicate Impressions Stencil from the Winter 2019 release.
The dragonfly is GORGEOUS!
I like the format of the 12x12 as it allows for focal points to be proportionate to the size of most off the page projects. I repeated the brayer and stencil process until I was satisfied.

I believe my best mixed media projects come from my ability to let go of a background. The canvas would be great just the way it is, right? Maybe...
However I love the complexity you can get from doing just a bit more''. So here I go... I added a contrasting layer to push the first set of colours into the background and creating a base for the next layer. I used stencil TCW833 Fantastical in 6x6.

I added some crackle paste to the page hoping to get the really bright background to pop through... It didn't happen so I pushed it into the background with another stencil I found in the New Winter Release TCW832 Script Words.

In order to finish off the second layer I added one final layer with the brayer. I wasn't getting any paint into the cracks with the brayer and rubbed some in with my fingertip. I used a wipe to blend it and finished off with some stamping.

LOOK AT THOSE LAYERS
I dry brushed some black paint over the whole project... we found the cracks!!

I wasn't so keen on the black. It seemed too final.
Lime and Coral will fix that!!
One last time brayer...

I was really happy with canvas it was only a background so I needed to build a focal point. Tissue paper is great. A little TCW Gel Medium Matte and it is semi-transparent.

Here is another favourite of mine... I can now add a little bit of bling to my chipboard in minutes.
I used a foil and TCW Tacky-when-Dry Medium. Once it was dry I used a gel pen to outline the score marks in the chipboard.

I needed to create my focal point . I really wanted to use the metallic pastes for this one; I was really keen to see how they contrast over the black layer. I used the stencil TCW697 Mia. I teamed that up with some chipboard aiming for flowing locks.
In this image I blended several colours on mixing plate and loaded up the pallet knife with paste. I applied it diagonally over the stencil to create striations. I scraped the excess off onto the canvas intending to use it as a base for the hair.
I placed my chipboard into the paste using it as an adhesive. Using a paper towel I created some peaks in the hair.
To finish off I used some TCW Black Modelling Paste on my finger and rubbed it onto the chipboard and dry brushed it over the peaks.

I loved this paste. It is thick and flexible and has amazing dimension.
Its my new staple and here is why.
I collaged some feminine elements into Mia's hair and created the title. Look at the titles I created with the stencil. Absolutely love them and the possibilities...

Thanks for looking and if you are keen to see more of what I create then click on my image below.
Insert Image


No comments:
Post a Comment