Sunday, 12 April 2020

Dusty attic Mood board inspiration April - Happy 18th


Hi Everyone, welcome to April and wow... what a different world we live in since my last post.
 
I have chosen to use a special image of my Sons 18th and all I can say is that I am glad it was in a time when we could go to restaurants to celebrate.

So with  out further ado... hope you get some inspiration on how to play with Dusty Attics' awesome chipboard!

Happy Easter Everyone!


I decided to have a play with some 49th and Market Laser Cut Frames and papers. I initially laid down some stenciling with black Gesso. I didn't want to do too much to the background as I loved every one of the marks on the page. 


Using my Tim Holtz stamp 'Faded Text' I completed the background and began layering my laser cuts and hessian. I used some gold paint and put it on with a sponge. I used alot of paint to get a really textured look. I wanted to bring out the metallics in the photo into the background.


Now this one was a bit of a challenge. I used layer upon layer to get the shading just right. I used two colours Caramel and Cream and once I had that just right I used the gold paint to highlight it. I didn't want the etching to fade out so I used a white gel pen to emphasise the markings.


I distressed the burlap fabric with an inkpad. I ran it over the edges and frayed it, scrunched it and smoothed it out again. I painted the Notebook borders and used the same inkpad to highlight the solid edge.


I used the same gold paint on the title and used some white and gold to add some platters...


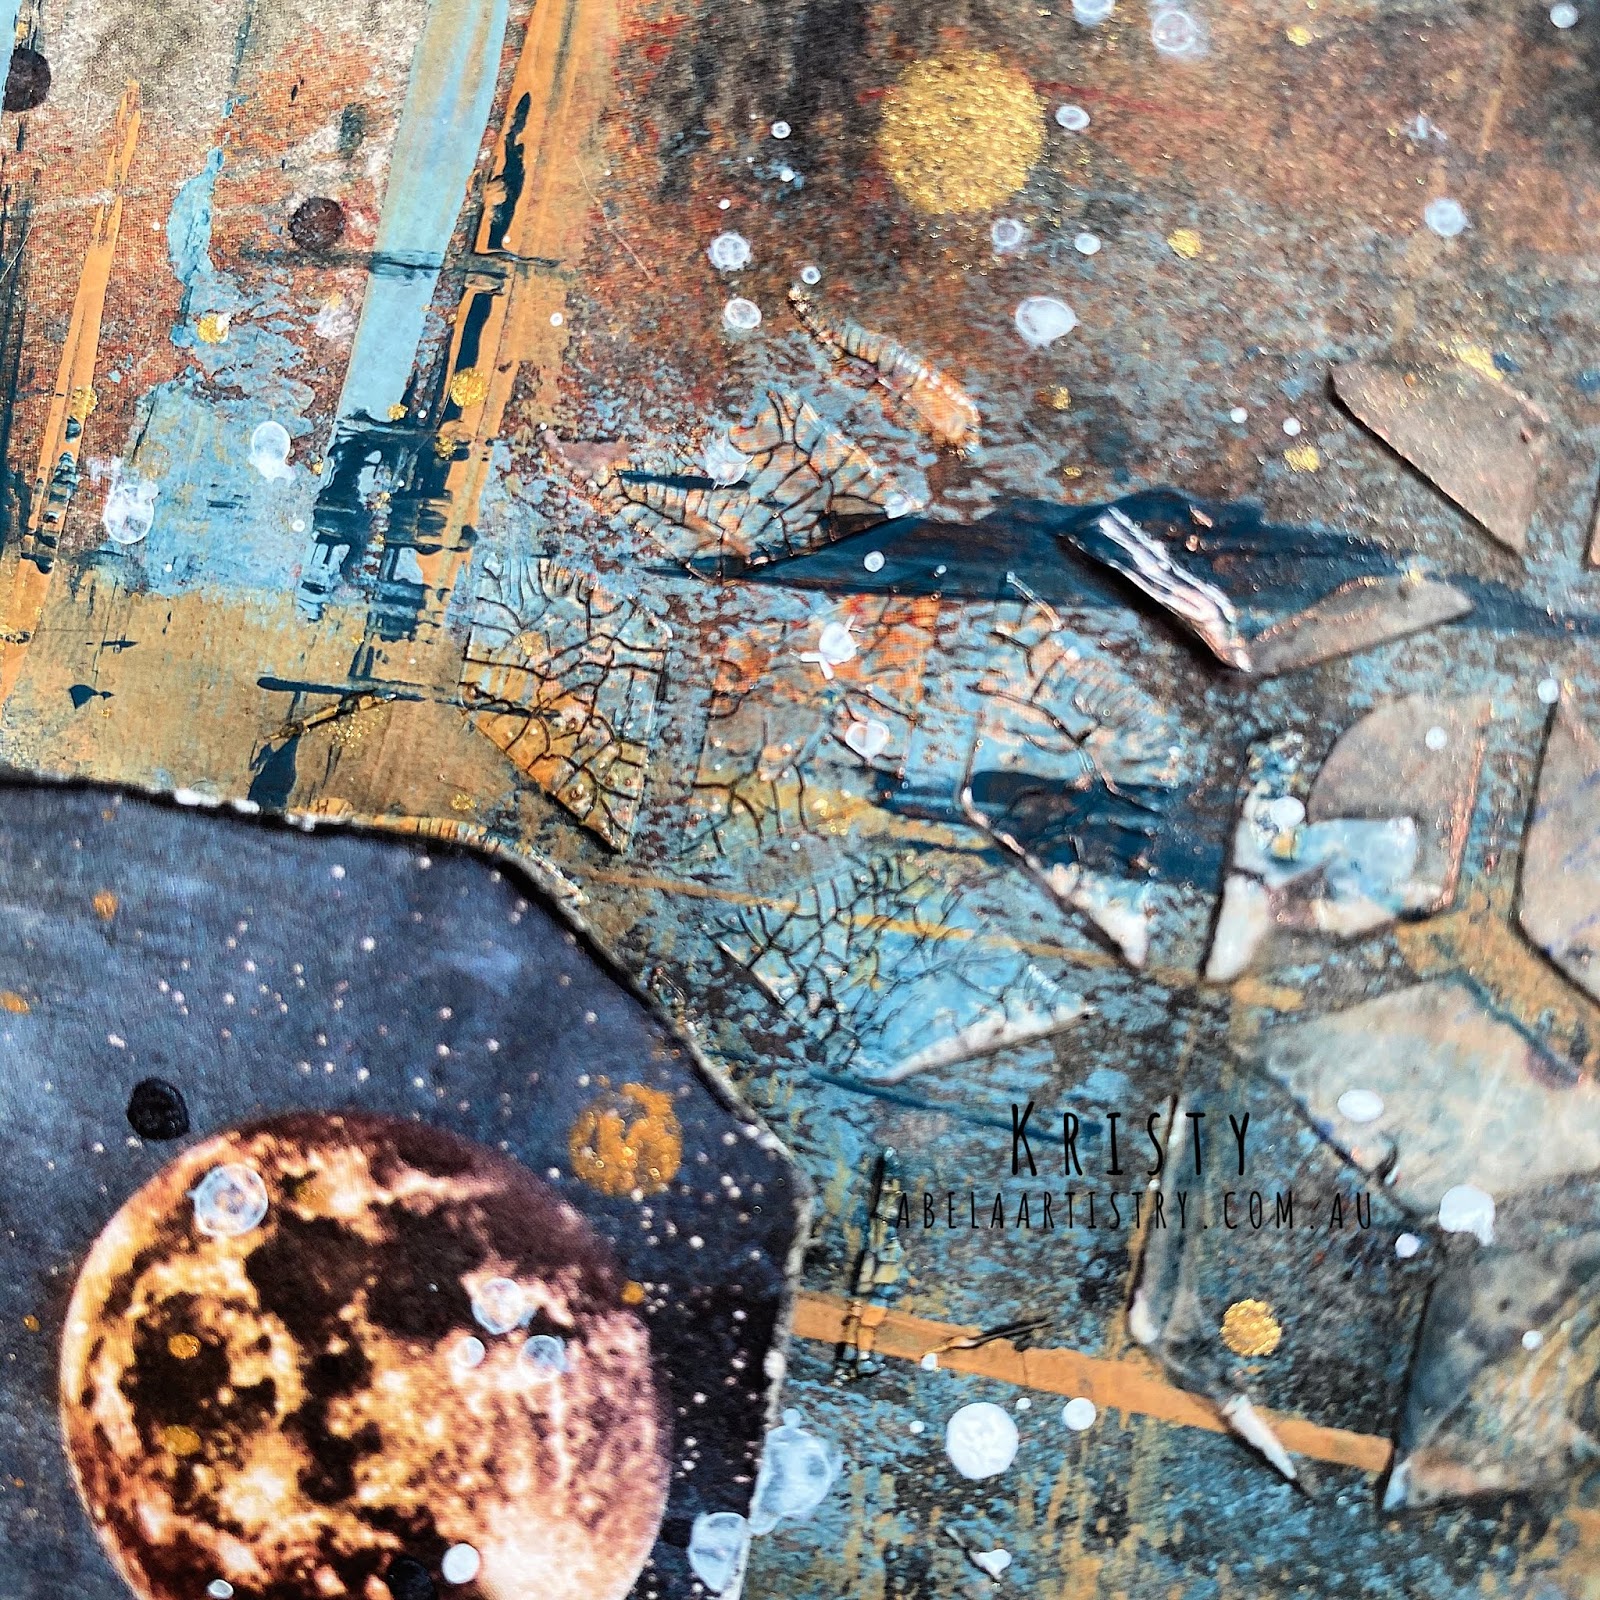
Close ups are the best... 


I used two shades of chalk paint to colour the number panel. I wanted to keep it simple as this was the brightest part on the page. 


Check in at our facebook group Dusty FANattics and check out what happening.

Abela Artistry

Chipboard Used

Monday, 23 March 2020

Dusty Attic Inspiration - Sublime Beauty

Hello Crafters, I feel that we have more than an few people with lots of crafting time on their hands!!

I am one of them. My boss has the office skeleton staffed and I get to work from my Craftroom!! Ooh, the temptation...

Anyhoo, I picked up this paper a while back, Jazz Club by Ciao Bella and had been itching to play with it. I love the way I got the chipboard to be the star in this layout. I have a real passion for red heads and  I love the pop in this one.


In this one I lay out my feel for the page. In this way you can say I am a planner. Before I stick everything down I scrutinise the most minute placings. You will see that the final layout has variations on this one.


 I used clear modelling paste AND crackle medium through a stencil to create a subtle background.


I used a brayer to add some colour to the background. It really didn't need it but I love my paint so I did anyway. I also used a credit card to add some directional lines. I used a Lindy's Spray with some water and added some tint to the background. I figured it would help the orange pop if I kept the background fairly neutral.


I splattered another layer of the paint with the Blue/Black and also with some gold. 


Lindys Embossing Powder and a lil bit of Paper Artsy paints!!  Delish.


I used White Gesso and did a patchy coat creating lots of peaks in my paint.Once dry I smooshed an Oxide inkpad onto the craft mat and then dragged my chipboard through the Oxide trying to get an uneven coverage.


Look at that colour!! 


 Look at that texture. 
I used a tiny rub of Metallic Waxes to the layout to bring some sparkle back into it. 


I really hope you are all safe and well wherever you are and whatever your circumstances. 
Love and light to you.


Abela Artistry

Check out whats happening in our Facebook group Dusty FANattic.


Chipboard Used
Perforated Mesh

Thursday, 5 March 2020

Dusty Attic Mood Board inspiration March - Cherish


 Hello Attic Lovers...
OMG... I had so much fun doing this. 
One guess why???
I thought I would turn the tables on this week and use a photo of a MAN!! Here is my Moodboard inspiration and just quietly... the DT have confirmed March is one of our favourites.


I covered all my chipboard using a variety of mediums. On my Twisted Iron Chipboard I used White Gesso to dry brush some highlights over navy chalk paint. Lindy's Embossing Powders on my Marrakesh and Corner Flourish. Metallic paint on my Juliette balcony & glossy accents on my Title and Seagulls. 


I used white gesso to run around the edges of my photo to distress it and placed it so it looked like my Romeo was hanging out of Juliette's balcony. (Wink Wink) Do you like my climbing vines too??


I used clear Gesso on the background, then using a brick stencil I used my Colour Paste and some Shimmer Dust to create a Verdi Gris effect. I was surprised at how well it turned out! 


While my paste was still wet i placed my Twisted Iron onthe page and secured it. I got some Moon Shadow mist I randomly sprayed and used some water to help spread the colour around to create drips and runs. 


I used Seagulls and Roman Numerals in my toppers this time along with Art stones, Micro beads & Paint splatters. I struggle not to splatter of late. 
To colour my seagulls I used white gesso painted roughly for texture and then sprayed Moon Shadow mist on the craft mat and placed them face down and rubbed them through the spray and dried. I repeated this process several times and then sealed the colour in with Glossy Accents.
 

 Can you see my Roman numerals under the butterfly wing? 
There are more if you look closer. I used some White gesso and wax for this one. 
 

Here are a couple of close ups if you want to peer deeper...


Thanks for looking!!
Check out whats happening in our Facebook group Dusty FANattics and check out what happening.

Abela Artistry

Chipboard Used

Sunday, 23 February 2020

Dusty Attic Inspiration - Dream Big

Hi Everyone, Hope you are having a fabulous crafty day... 
As I write this I am getting excited!! 
I am about to head off on an cruise ship with Antonis and Farrel. Woot Woot. 
Classes & glasses and a few sun filled, fun filled days! 
This layout I have created for you from am different kind of excursion. Before I lost all hope of getting them interested in culture and history I took them for a trip into Sydney for the day. This was taken outside of the Mint. In this layout I wanted to have the industrial feeling from inside the building come through. Hope you enjoy!!


Not often do I show my 'Behind the Scenes' images but I thought I would today. When I design an layout I go through a couple of stages of 'staging'. I pull out all possibilities for the collage and layer them all over my page trying to get a feel for how it will look and for what colours I will need. 
Does anyone else do this?


1. I started with my background. I tore out pieces from the pipe works paper to create an industrial grungy collapsed wall. I added some cobbled stone die cuts to start building the layers that my photo would sit on. 
2. I covered the paper background in clear gesso and used some sandpaper to scuff it up & distress it.
3. Then used modelling paste in a dark metallic silver with a Metal Plate stencil and using white modelling paste through a Cross hatch stencil. there were lumps and bumps.


4. I covered all my chip board with white gesso. The number panel pieces I cut from the larger chipboard I painted roughly so we would have lots of bumps on it when it dried.
5. I sprayed a generous layer of Shimmer spray onto the chipboard and let it pool. When I dried it off with the heat tool it pools and reveals all the fab shimmery colours.


 I left the compasses 'naked' and embossed the title and the wall clocks.


Using a matt paint in a dark colour to frame the photo with broken pieces. I just love the way you can tuck them in behind a collage and they fit perfectly every time. My ABSOLUTE fave Dusty chippy!!


I finished off my collage with some toppers of Sisal, Metal Charms, Micro Beads, & Paint splatters.


Close ups of some of the texture in my Chipboard & background anyone?  I also sneaked in a final chippie in. 


Thanks for joining me and I hope to see you in our Facebook Dusty FANattics group soon. Love and light, till next time!!


Abela Artistry


Chipboard Used


Stencils Used

Wednesday, 12 February 2020

Celebrating You - Dusty Attic Moodboard inspiration February 2020

Hi Everyone!
I was so lucky to spend some time in the school holiday's with my nieces. They are such powerhouses of young women. I love the   uncertainty of youth and can see the strength of their mother guiding them into the future. That future is BIG for these girls! When I saw these images I immediately thought of them. 
This layout is for them.

To start I used clear gesso to seal the page. I found this treasure in my Blue Fern stash. I used some modelling paste through a stencil and covered it with Lindy's Embossing Powder. I used my heat tool to set it and then used Lindy's Moon Shadow Mist to add some interest in the background with drips and runs.


Using a soft distress crayon in Soot I rubbed a bit onto my fingertip and then lightly over the raised surfaces to highlight the texture. 


I created a banner for the focal point to rest on and used Distress Ink in Black Soot on the edges. I like to run my ink pad directly against the edges of the cardstock. I like the effect when it goes wrong and touches places I wasn't expecting... 
A truely Happy Accident! 
I also added some stamping in numbers and Music notes.


I really liked the music on the background and had to cover it to lay the banner. So I recreated it with stamps! I also added some text to the whole background over the embossing areas too.


I began positioning my focal point and experimenting with placement. 


Using some paper Artsy Chalk paint I painted the flourish to look like wings, then I used another Flourish to create a bottom border and also use it as a base for my title.


 I used some floral chipboard and used Paper Artsy Chalk paint again. This time I used it in  concentric circles to create a fade. I added some gorgeous flowers by Prima and some ephemera I had in my stash.


To finish off I highlighted some areas with Metallic wax and a dusting of Glass Glitter. 


Thanks for having a look & I hope you gained some inspiration... Till next time! 

Abela Artistry

Here are the Chipboards I used.