Tuesday, 23 June 2020

You are Loved - Dusty Attic inspiration for June 2020

Hi FANAttic's...

Here is my second Antonis Tzanidakis inspired Dusty Attic inspiration.
I love doing canvas and seeing as this is my birthday month... I took this opportunity to remind myself that self love, fidelity to a worthy cause and sweet memories are all I need. Have a look and see how I get this one done.   


I love these mini Polaroid Chip boards.
There are so many useful pieces in one.
I keep the squares to use instead of foam tape...


These page tabs are super cool to break up layers in the matt. 


I covered a canvas approximately 5" x 7" with book pages and vintage papers. I used some clear crackle paste around the edges because I knew I wanted to add something to the background to age it. While the crackle was still wet I added my jigsaw pieces to it as this will double as an adhesive. I pushed the pieces into the paste to remove a little bit of height and add an extra edge for the adhesive.


I lay my chipboard and basic elements onto my dried background using the puzzle pieces as a platform. I had to use an off cut to fill the area behind the photo. 


I then painted the individual pieces in a variety of vintage shades with paint by Stamperia. I wasn't really concerned with the paint coming onto the background as I was hoping for a happy accident and a little more variation in colour once I had oiled the canvas.


I completely covered the canvas with an oil paint in Burnt Umber. It looks pretty scary when you see all the work you have put into it covered in what looks like mud! With a moist wipe I removed the paint leaving behind what is essentially a stain. How good does the crackle look!! When you use an oil paint it is fully water resistant and won't bleed if you add water to newer layers. 


I used a few left overs from the background to create a matt and inked the edges with Distress Oxide in Vintage Linen.


Before laying down my elements I added some sisal and some linen and lace textural elements to emphasize the aging. I then did some dry brushing with white gesso. I then went over the canvas with some wax in Aged Brass to break up what looked like too much vintage... After all what says vintage more than a bit of dulled metal. 


Thanks for looking & make sure you go on over to our group Dusty FANattics and see how other people have been inspired to use their chippy.

Wednesday, 17 June 2020

June Moodboard inspiration - UNDERWATER TREASURE

Well well, winter is here... I wanted to create something for this months moodboard that reminded me of what its like to live on the coast, when swimming is NOT an option. My kids were born in a little seaside town on the Mid North Coast of NSW. We would rug up and take walks on the beach. I remember the sand would be so cold that our feet went numb but if you have under 10's, just try and keep them out of the water. Well they're not little anymore and this is as close as they get. 


I am in love with the papers that Stamperia produce, designed by Antonis Tzanidakis. I have had the pleasure of getting to know the guy and do about 10 of his classes and play around with his techniques. With this month's inspirations, I merge some of the best I learned from him... and my own favourites. I used crackle paste on the background and then used some oil paint to age it and a bit of Lindy's sprays in teal and copper to enhance the colours used in the original paper because I didn't want to lose the tones that matched the mood board perfectly.


I used lots of texture and layers on my pages. Keeping with the theme of Underwater Treasure, knowing that there is more going on under the ocean than on top these days. I fussy cut my favourite elements from the paper range and matted them with black card stock. I used a solid colour to make the title pop this time. 


I painted the Shells and Corals in white Gesso and dabbed it thickly with my brush to create peaks in the paint. This allowed me to create ridges for the Lindys and waxes to sit on. I also used white for the compass. I sprayed some colour on my craft mat and put the chipboard into it - face down. The ridges collect the shimmer and give it something to grab onto. This is also true for the waxes. I apply them with my finger tip and gently rub across the raised surfaces

Tip: The colours vary so much when you use chipboard in natural, white or black. If I am unsure I paint the back of the chipboard piece in sections of each option and test it. Then when I know what I prefer I flip it over and use my preferred choice. 


I painted the Stars, Anchor and chains in black gesso. I used the dabbing on the anchor and chains... It gives off a fantastic textured effect, when teamed up with waxes looks like aged metal. #lovinit! I left the stars with a flat coat. I find that the variation in textures makes them stand apart from each other better even though they have the same base coat. 


To break up my layers I added some sisal in between. Anything white is a good 'page break'. I am not a brave creator and really struggle with adding colours that stand out in among my page elements so I like to use neutrals. I really loved the page as it was, however I felt I needed something to unify all the elements... Art stones! cant get more aquatic than that. 


This is our Mood board for the month, if I have inspired you to join in post your entry on the Dusty Attic Blog and pop it into our Facebook group Dusty FANattics and see what other people are creating with Dusty Attic Chipboard.


Thanks for looking and links to products are below! 

Saturday, 23 May 2020

Handmade for Grandma


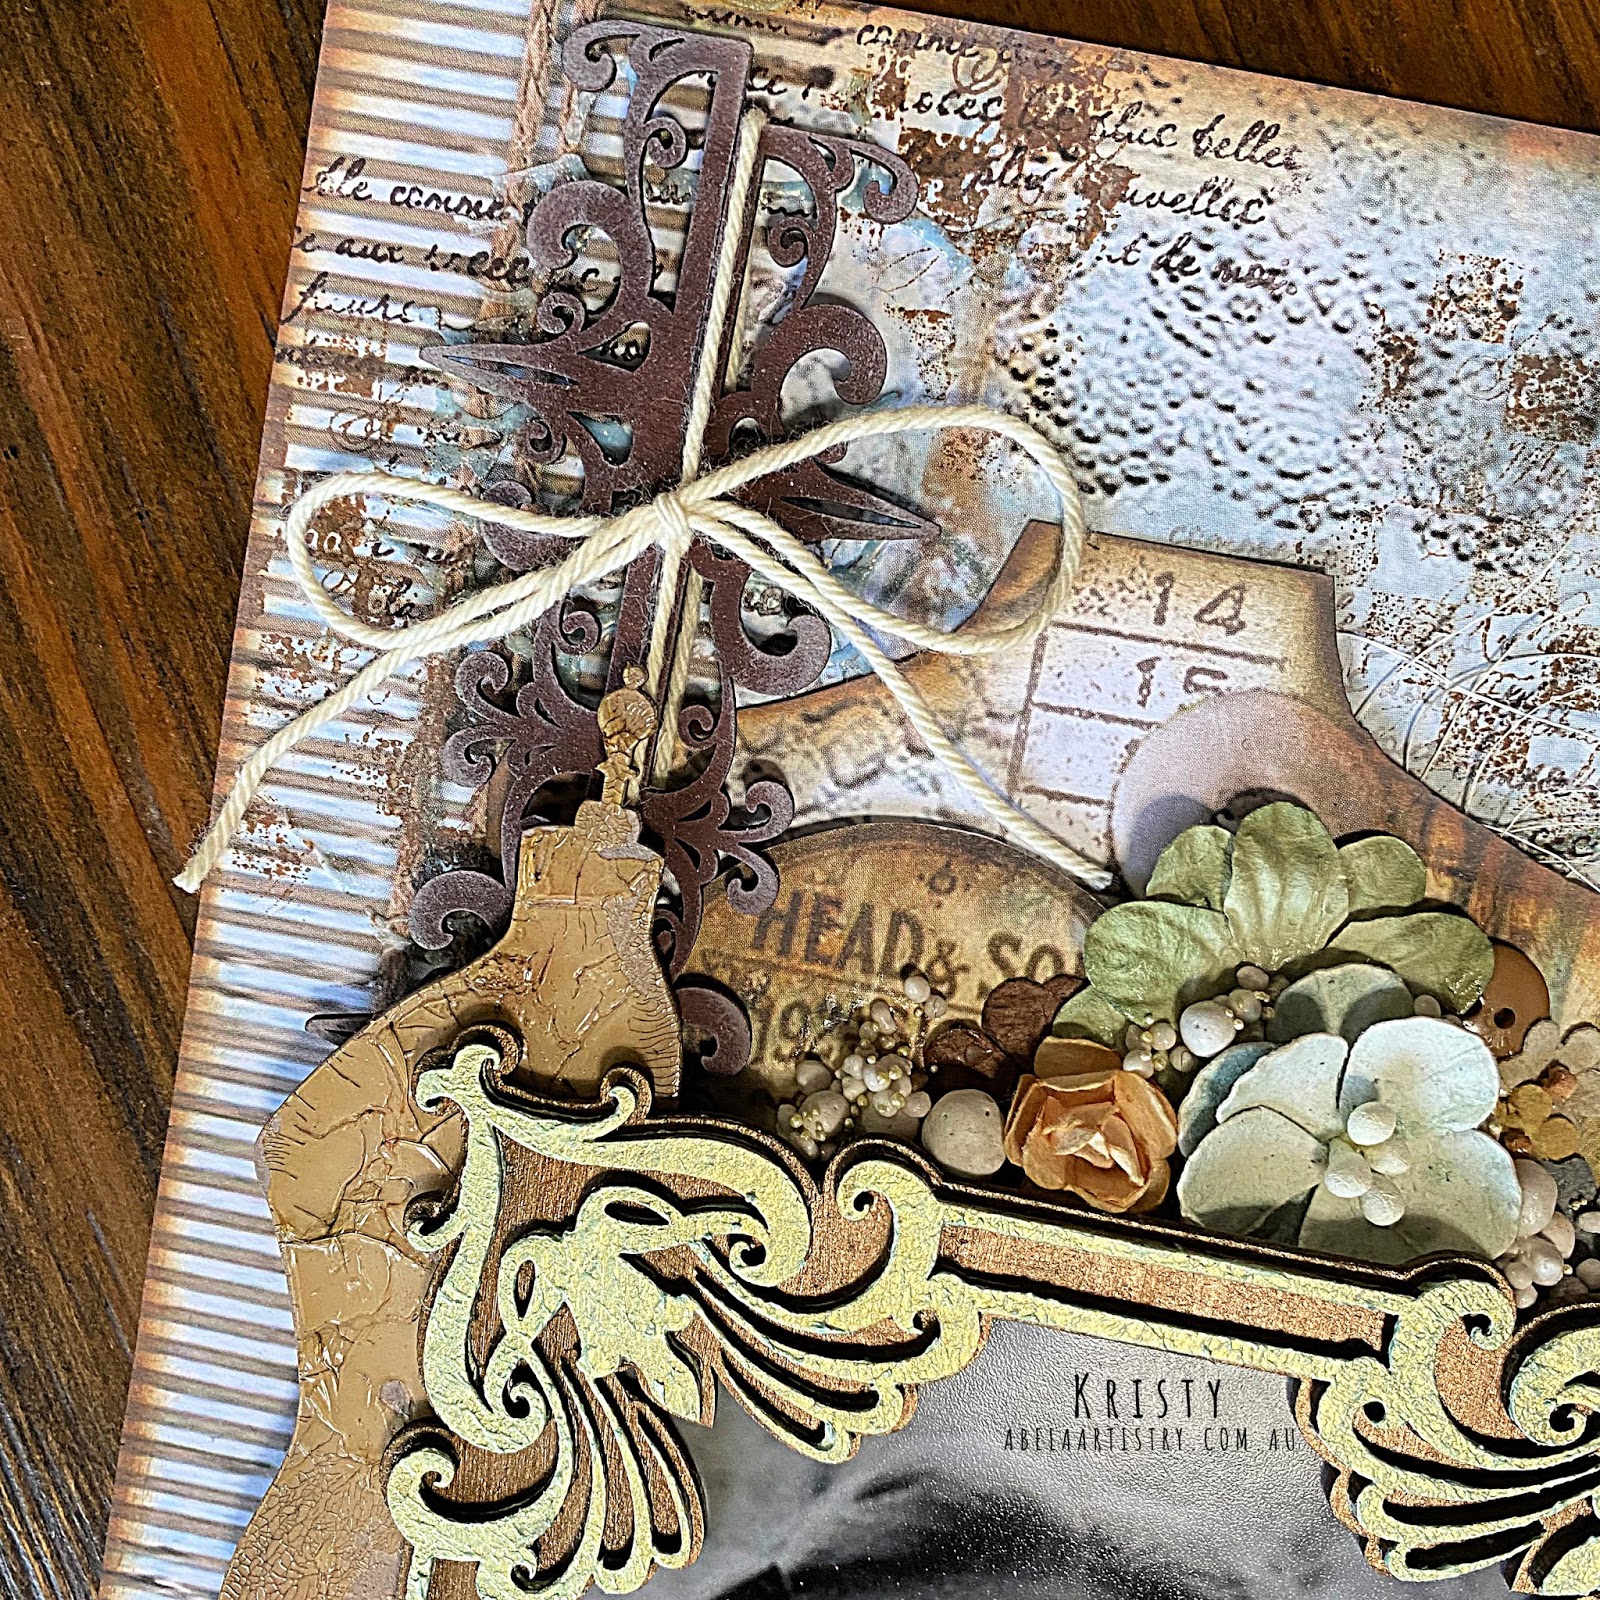
 I have created a vintage inspired layout of my Grandma. She was a dressmaker and taught me to sew. I was lucky enough to spend some time with my own Mum in lock down around Mothers Day & I wanted to do something for her because when she comes to visit she trolls through my boxes of projects and takes them home to adorn her walls. Next time she visits she has a big surprise coming... 


I used some metallic paint to colour the Layered Vintage Frame. 
I went with a dull gold for a vintage feel.


Being careful to keep the chipboard looking aged I used a dabbing technique with my brush to create raised areas. I used Opal Magics in Blue Gold. It gives a great variation in colour depending on the thickness of the application. Two for one!!


Using some deep brown paint I covered the two edge pieces and highlighted them with the distress Oxide. I used the oxide because I love the way it keeps its vibrancy. Then I stuck them together back to back, off center. On the paper there was an image of the tied string I wanted to bring into the foreground and used the off center border edges to give it something to grip to.


I added some subtle texture to the background. I was running the risk of having the layout become too matte, so with some modelling paste and shimmery embossing powder, again in a Blue Gold, I added some crackle stenciling.


Check out this 'happy accident' I inked my edges of the layout with Vintage Photo Oxide and the embossing powder absorbed the colour. I love the way it bronzed the the embossing powder too. Just to check I tried using a wipe to remove it.. no go! This is a permanent hack. I will be trying this one again.
 
 
I didn't want to over do the dressmakers mannequins. I kept it simple and used some clear crackle and a little bit of walnut stain spray. it just seems to make those cracks pop.

Here are some close ups of the finer details. 
I fussy cut some pieces from the Stamperia Atelier range to use for ephemera and inked them in vintage photo too. I added some flowers and art stones.
   

When I was putting together my final collage I came across this Barometer. I remember that this was the feature piece in my grandparents lounge room. Of course I had to find somewhere to put it in the layout...


This is what my mum will find in the box next time she visits... These frames a re super cool and can be found at KMart for about $15. So next time you look at one of these layouts and go... 
but it doesn't fit in my album... 
I hope you find somewhere special for it to be appreciated.  

Thanks for looking and don't forget to check out whats happening in our facebook group Dusty FANattics. and show us what you have been creating. Id love to see your layouts on your wall. Let me know if you find the frames!

Abela Artistry


Chipboard Used and links to the Dusty Attic Shop... Click Away.

Friday, 15 May 2020

Dusty Attic - Moodboard Inspiration May - Be WHO you want to be


Welcome to May... This layout sends a special message to me... I am surrounded by teenagers in my life, this image... Its no-one I know but its a story I am hearing time again.. Our teens have so many choices these days, Who am I? Where do I fit in, Why aren't I like the others... I feel that it was much simpler when we didn't have so many genders and sexualities to choose from. I feel that by somehow their over awareness of the labels attached to what are now social norms make them feel like they have to "identify". Confusing times. So my message is in this layout... By being who you are you will figure out what you are. No rush!


 I used two shades of pink to create a fade on the flowers. I love the way that these sets come in odd numbers. its one of the design techniques commonly used to create layouts and Jen has taken all the thinking out of using the chippies for you in these awesome set.


I used the same technique to colour the flourishes. 


I used a neutral paint for the Tiara, with a hint of sparkle... 
I believe we all have crowns (Wink). 
I then went on to use Clear embossing powder to seal in the Lindys. Symbolic again of the shields we use to protect ourselves... 

This paper wasn't the first choice... but I dug a little deeper in my stash and found some from the Bee Arty - Spread Your Wings collection from back in my Colour Blast DT days. 
It suited my message perfectly. 


To brighten up my flowers I added some Envy Colour Paste also from Bee Arty to some glass Cabochons. I just love Coral and Teal..
 

I found the title to suit but wanted to change it a touch. I love the Alphabet Jumble as it gave me the freedom to alter the title. Sometimes you can have all the best Chippie on hand but it just doesn't quite suit, so we make it fit. This time I made my own! Winning!!


Thanks for looking as always.. and remember to check out whats happening in our Facebook group Dusty FANattics and stay up to date with new inspirations and creations.

Abela Artistry

Chipboard Used

Friday, 17 April 2020

Feeling Those Georgia Blues

Hey Friends...
How are we all feeling with the Covid-19 Blues? 
I stumbled upon this collection from Prima and hadn't touched it yet. How many of us have been using up some of that stuff we bought but have waited for a 'rainy day' or the perfect photo....Thought it was a perfect time to crack it open.


Thought I would turn it around and show you some close ups before I showed you how I created the elements.


I used the base sheet of tags and chose two the same size & selected some chippies. I began by using Distress Oxide to ink the edges of the cardstock.

 I used some gold paint to decorate the crooked fence chipboard. I wanted to place some flowers behind the fence to create a 3D effect. Similar to how we all feel right now, looking at our neighbours and friends from behind our gates. 


 I primed the rest of the chipboard with some white Gesso and cut down the Roses to fit onto tags.


I cut some Die pieces in a Black cobblestone and also a tile panel in blue. I found some corresponding ephemera and created a collage on the tag.


 Before I stuck it down I found some Wood Wool and used that under the roses to add a textured dimension. I went K.I.S.S. on the titles... Cant remember the last time I had used Black Embossing powder.


 While I had the heat tool out... I used some of the fancy Lindy's powders to create a two toned Butterfly.


Once that was done I added some seed beads, confetti and gold glass glitter with matt gel medium to finish.


I used some matt wax in charcoal to grunge up the fence before deciding I was done.


Abela Artistry

Chipboard Used
 
Rose Cluster
Crooked Fence
Mini Captions 7
Tag Medley 

Check out whats happening in our facebook group Dusty FANattics and see what the other DT have come up with for inspiration during lock down.